
Documentation Index

Fetch the complete documentation index at: https://docs.maple.inc/llms.txt

Use this file to discover all available pages before exploring further.

Complete your agent setup and get ready to go live. This guide walks you through the onboarding flow after your account and billing are set up.

Before You Begin

Make sure you have completed:

  • Created your Maple account
  • Entered your legal business name
  • Selected your plan and completed billing
  • Your restaurant’s main phone number
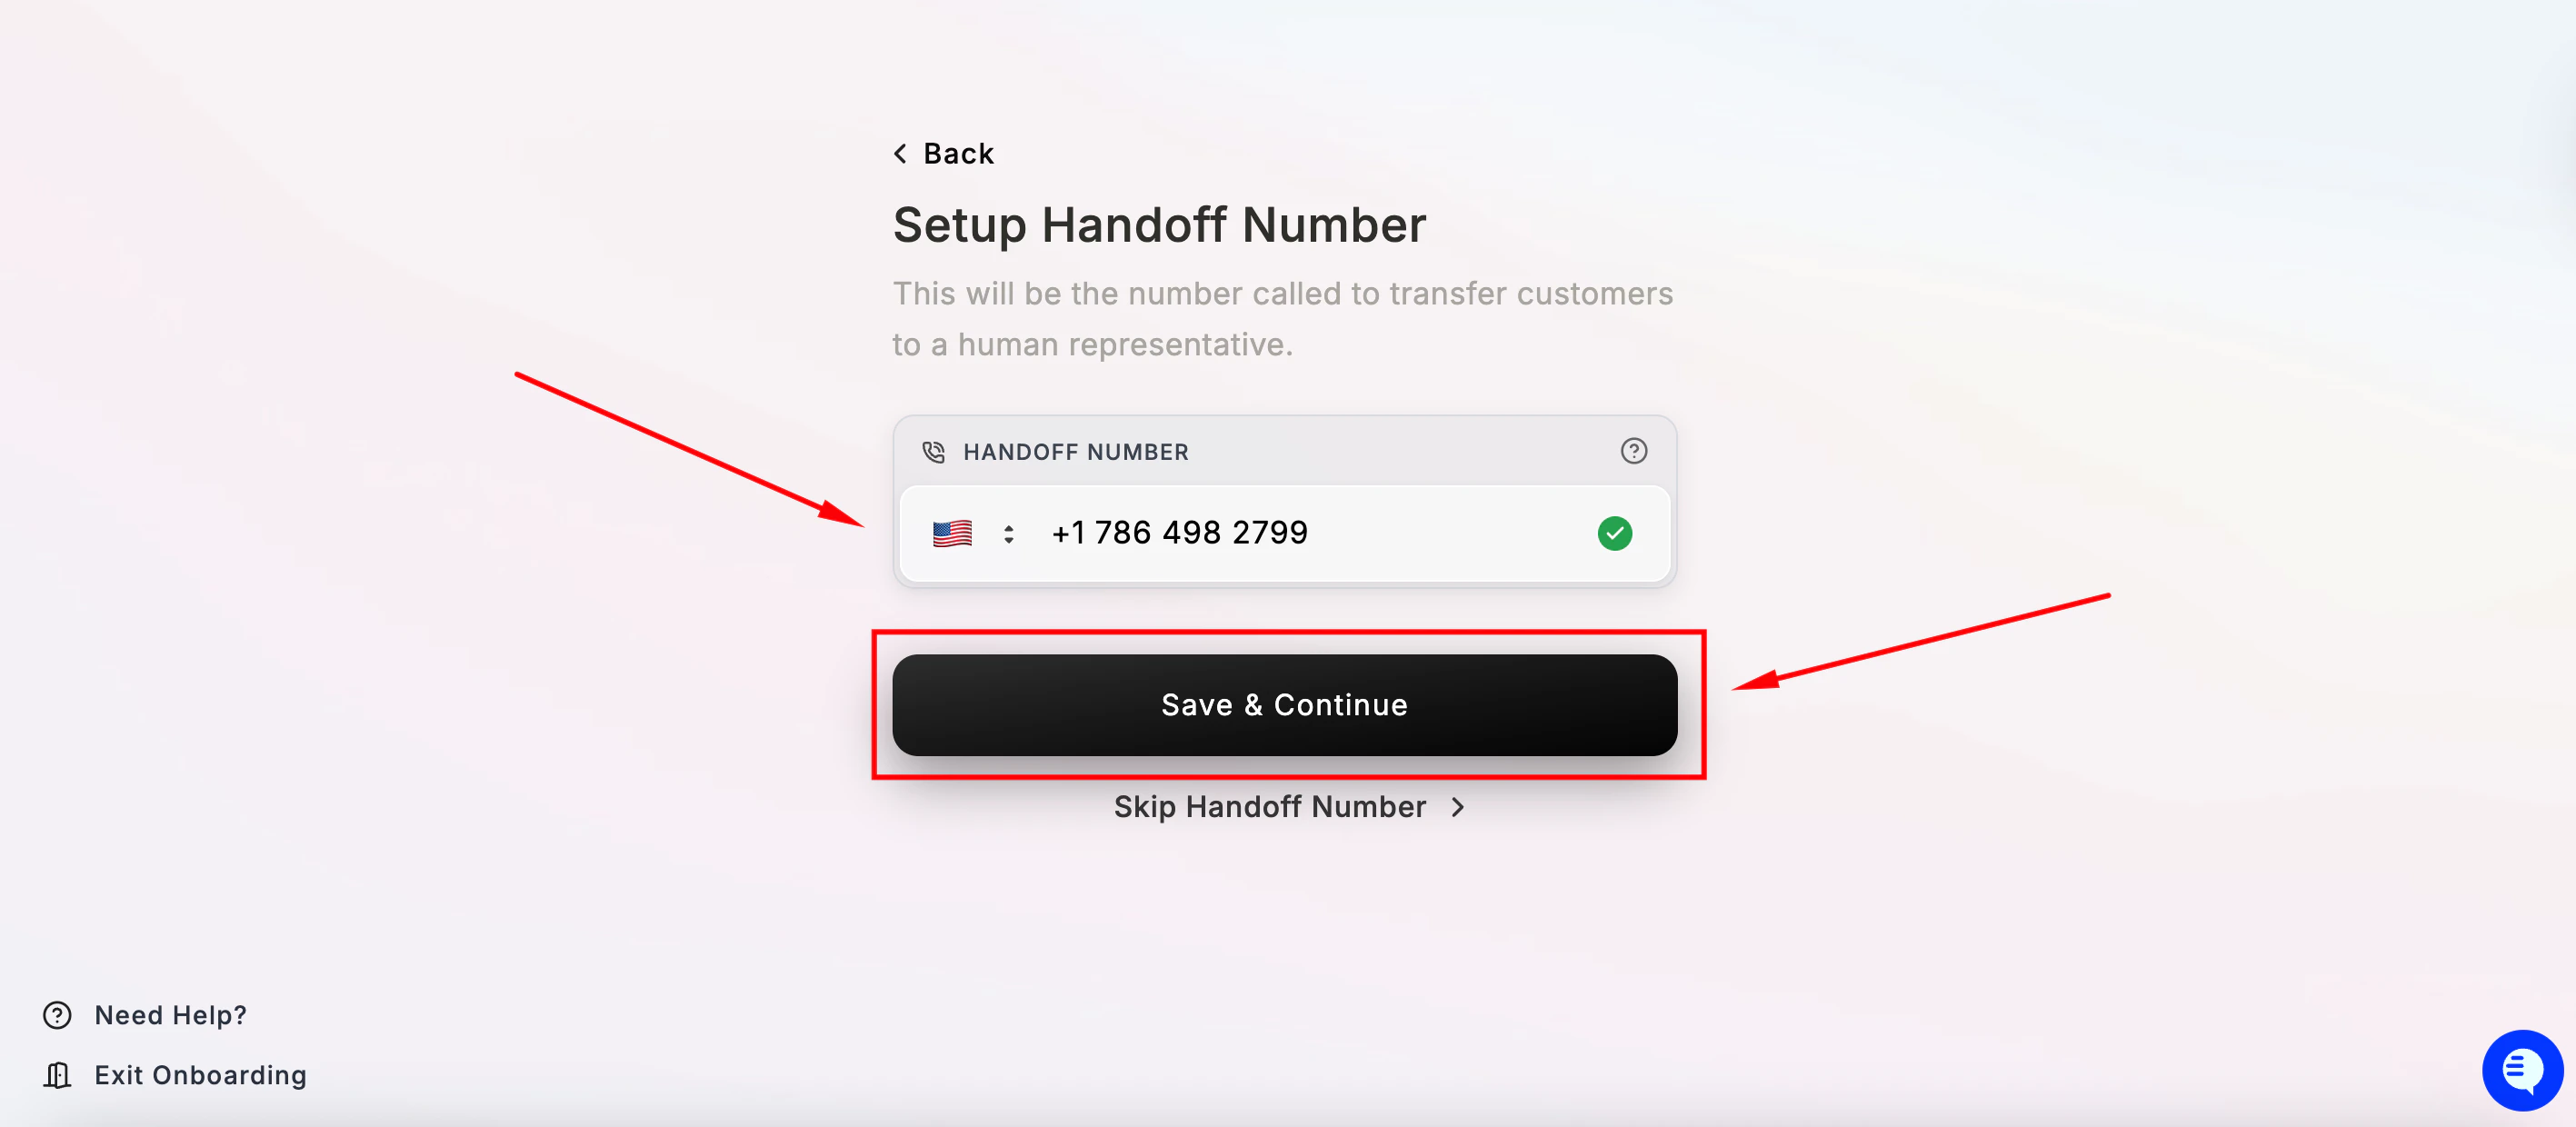
  • A second phone line for handoff — this must be different from your main restaurant line.
Why do I need a second line? When a customer needs to be transferred to a staff member, Maple calls your handoff number. If this is the same as your main line, Maple will pick up again instead of a human — creating a loop. A manager’s cell or back-of-house line works perfectly.

Step 1 — Get started

After completing billing, you’ll see a Payment Successful confirmation screen. Your merchant account is now ready. Get Started 3 Click Setup Your First Location to continue.

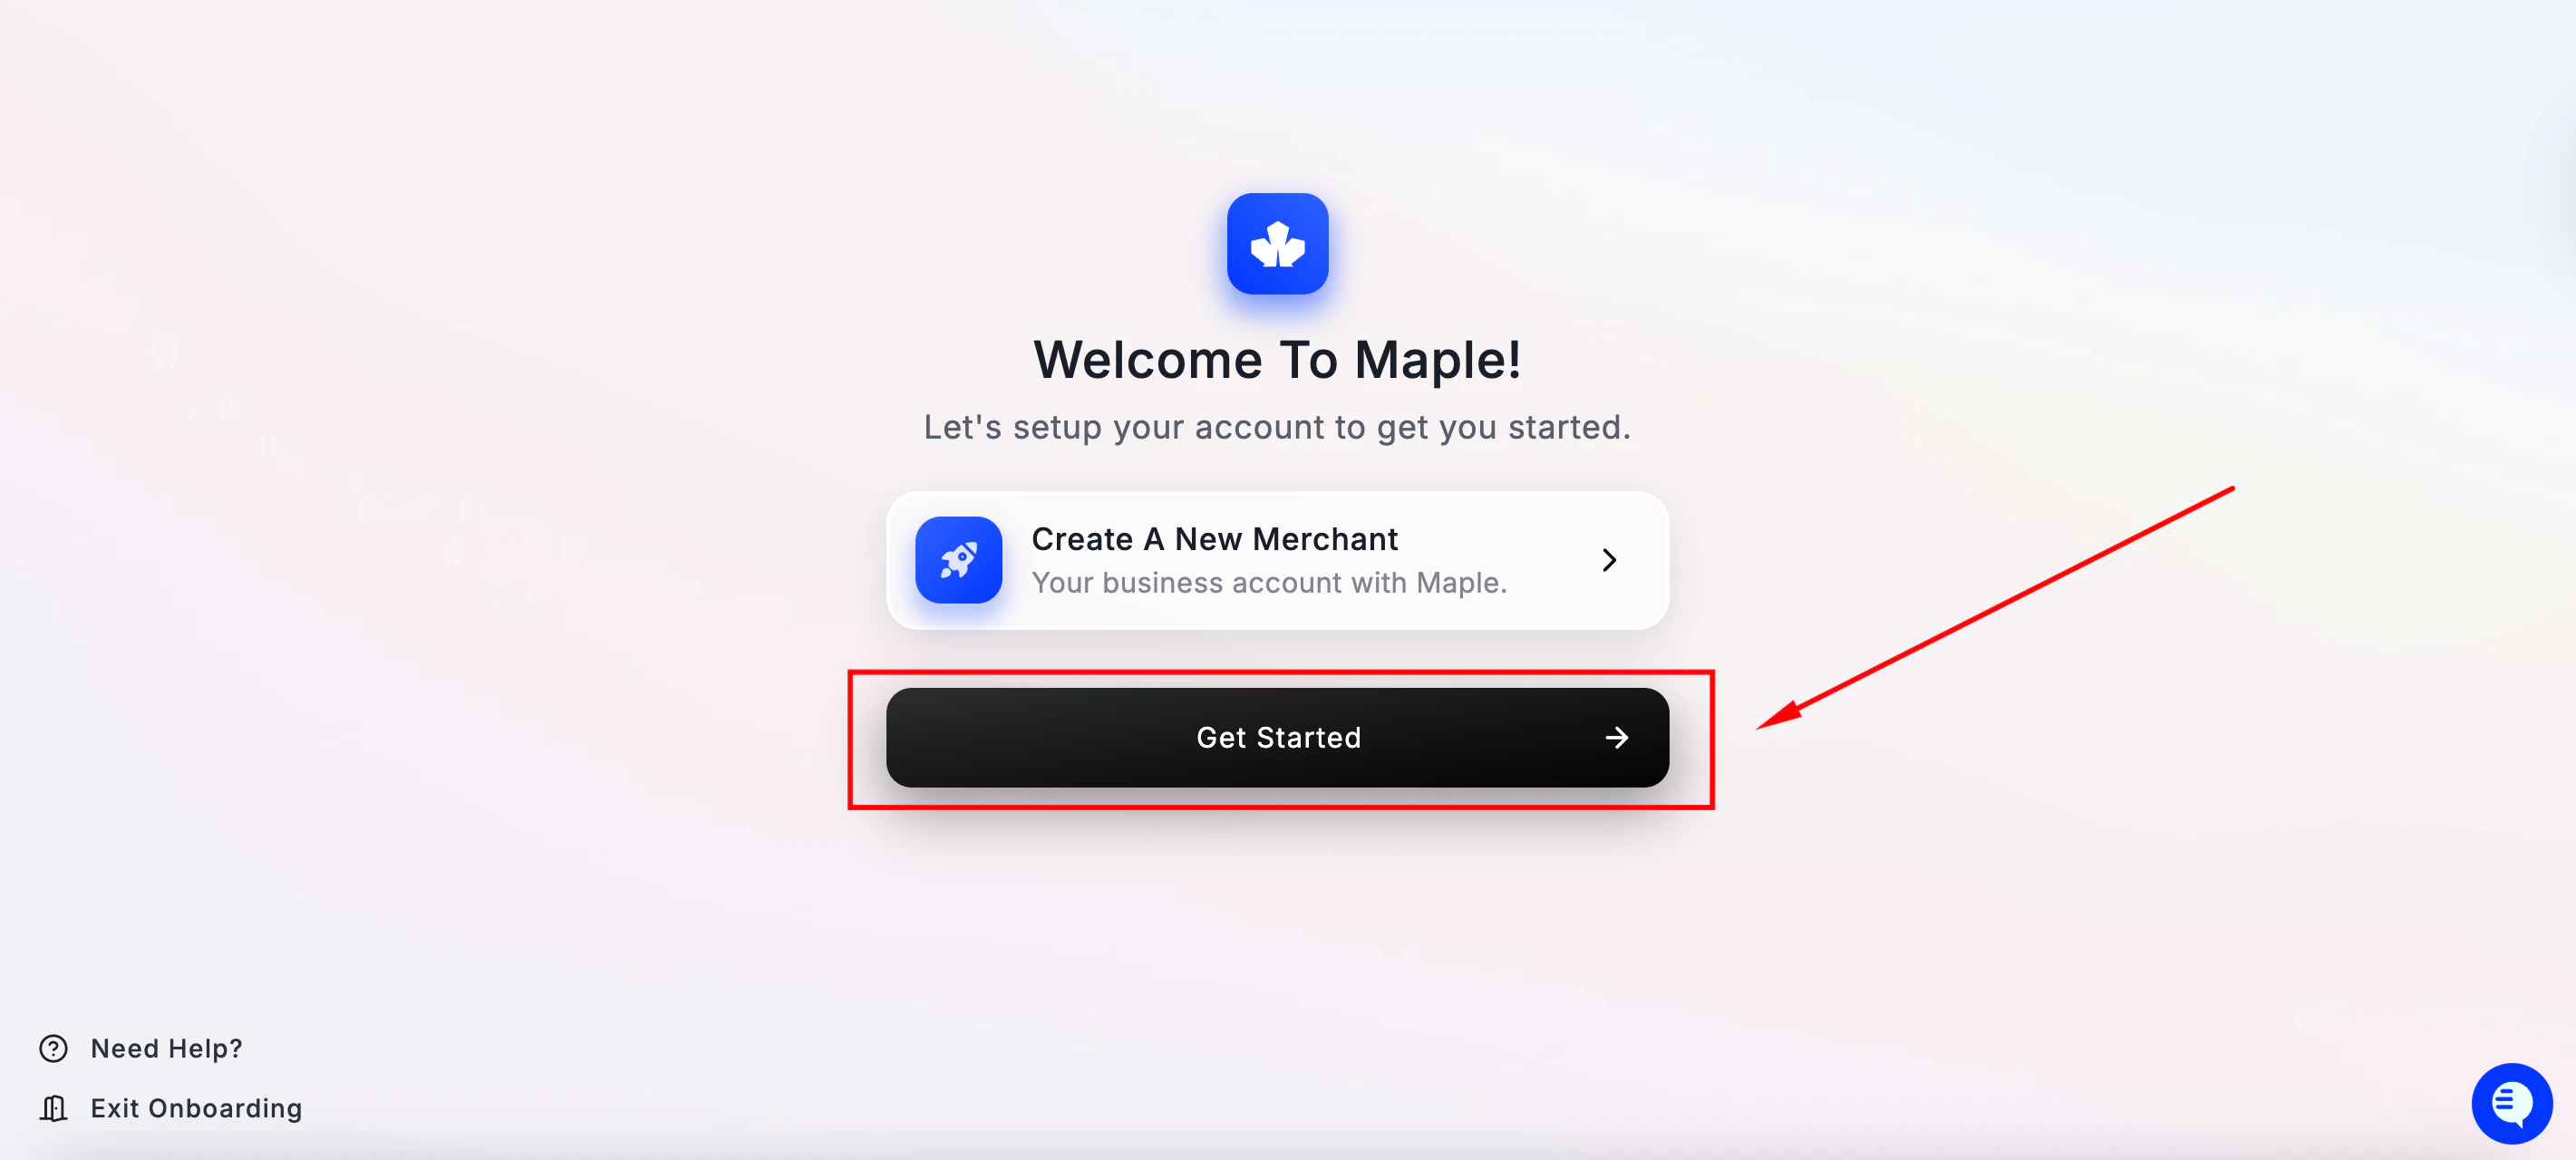
Step 2 — Set up your first location

You’ll see a screen outlining what’s needed to set up your location: Set Up Your First Location Set Up Your Location 2 Click Get Started to begin.

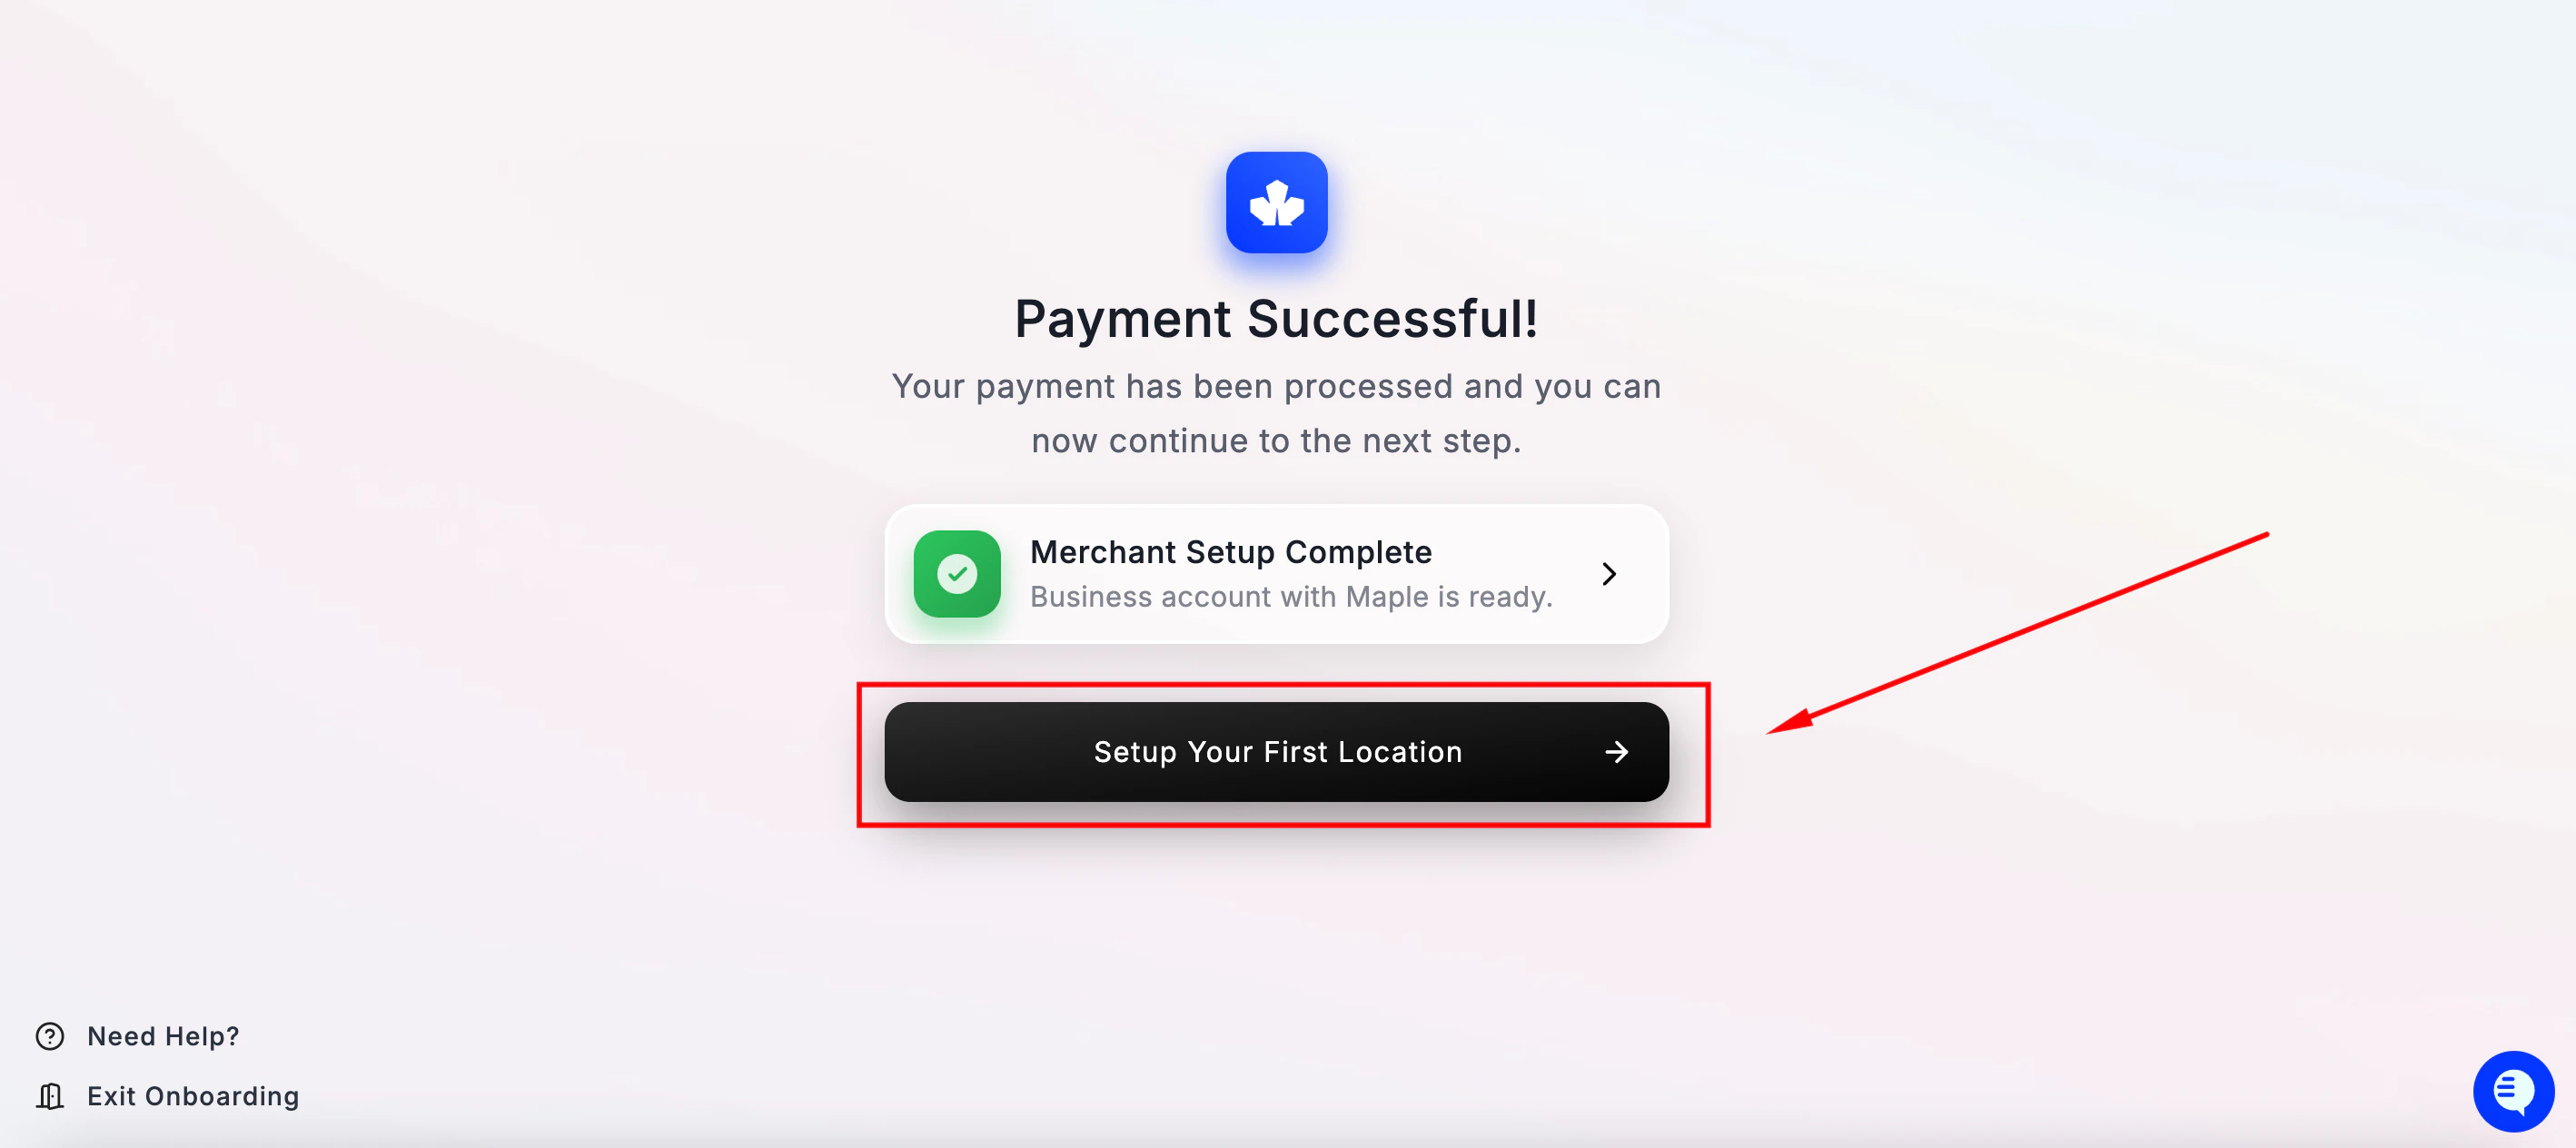
Step 3 — Look up your location

Maple will try to find your restaurant automatically to pre-fill your location details. Type your restaurant’s name in the search bar. Select it and click Confirm Location Details. It will search for your restaurant online and pull the name, location, and hours of operation. Look Up Your Location If your location doesn’t appear, click Setup Location Manually to enter your details by hand.

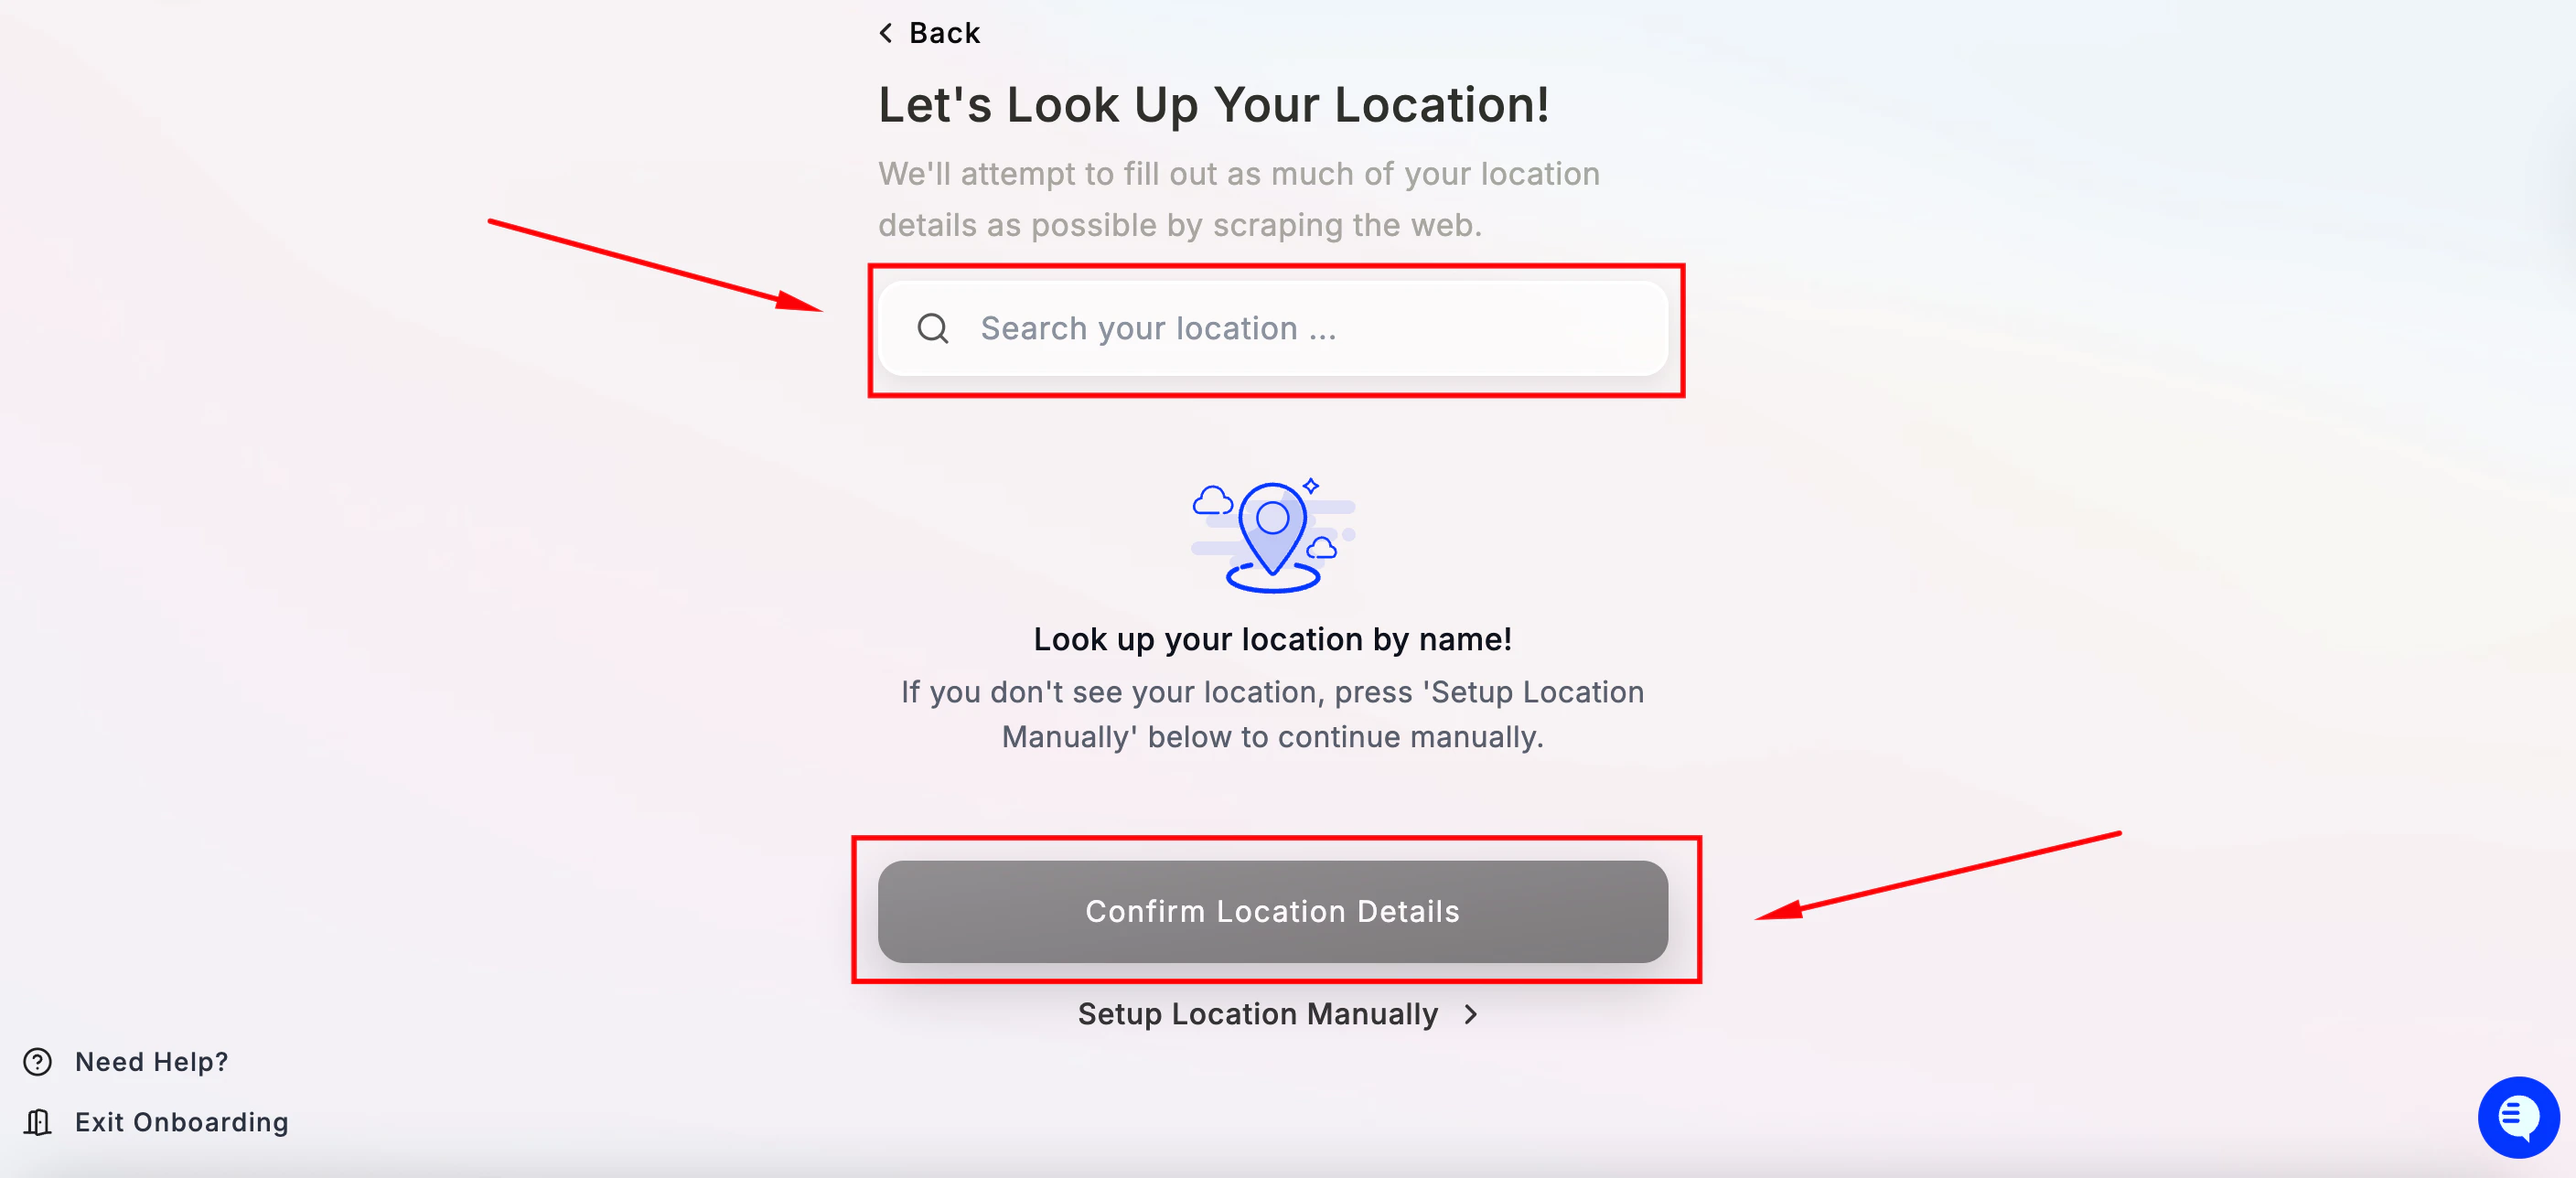
Step 4 — Create your Maple agent

You’ll see a confirmation that your agent is ready to be created. Click Get Started to begin agent setup.
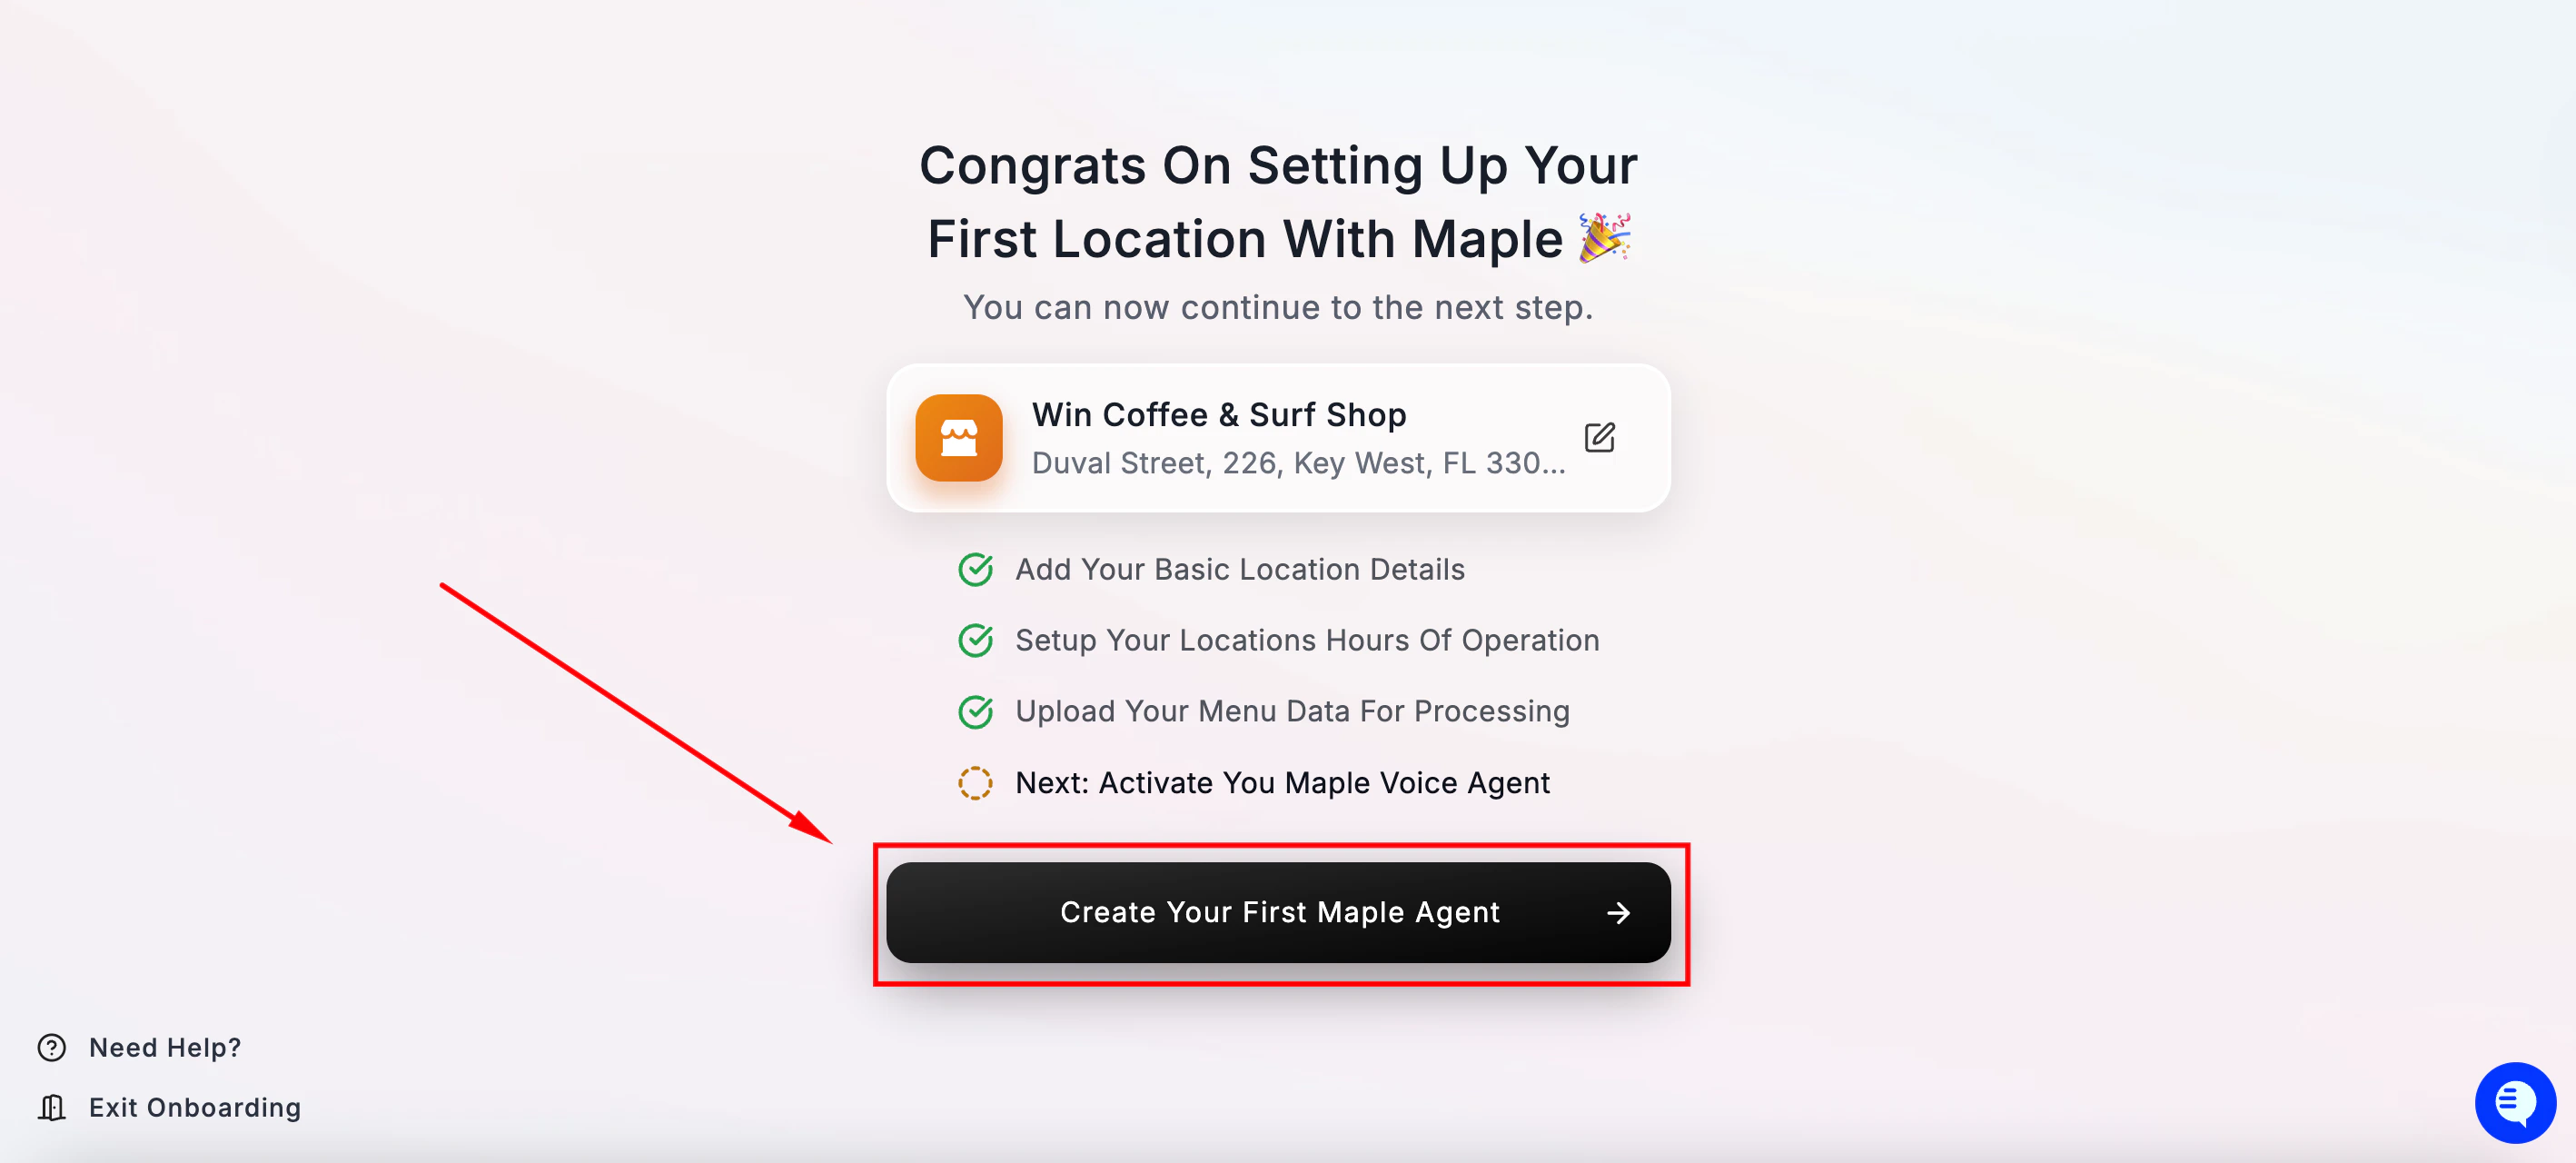
 Create Your First Maple Agent Get Started (create Your Maple Agent)

Step 5 — Assign a phone number to your agent

Maple will suggest an auto-assigned phone number for your agent. This is an internal number used for routing — your customers will never see it or dial it directly. Assign Phone Number Click Assign Phone Number to confirm. You can also click Search For Other Numbers if you’d prefer a different number or area code.

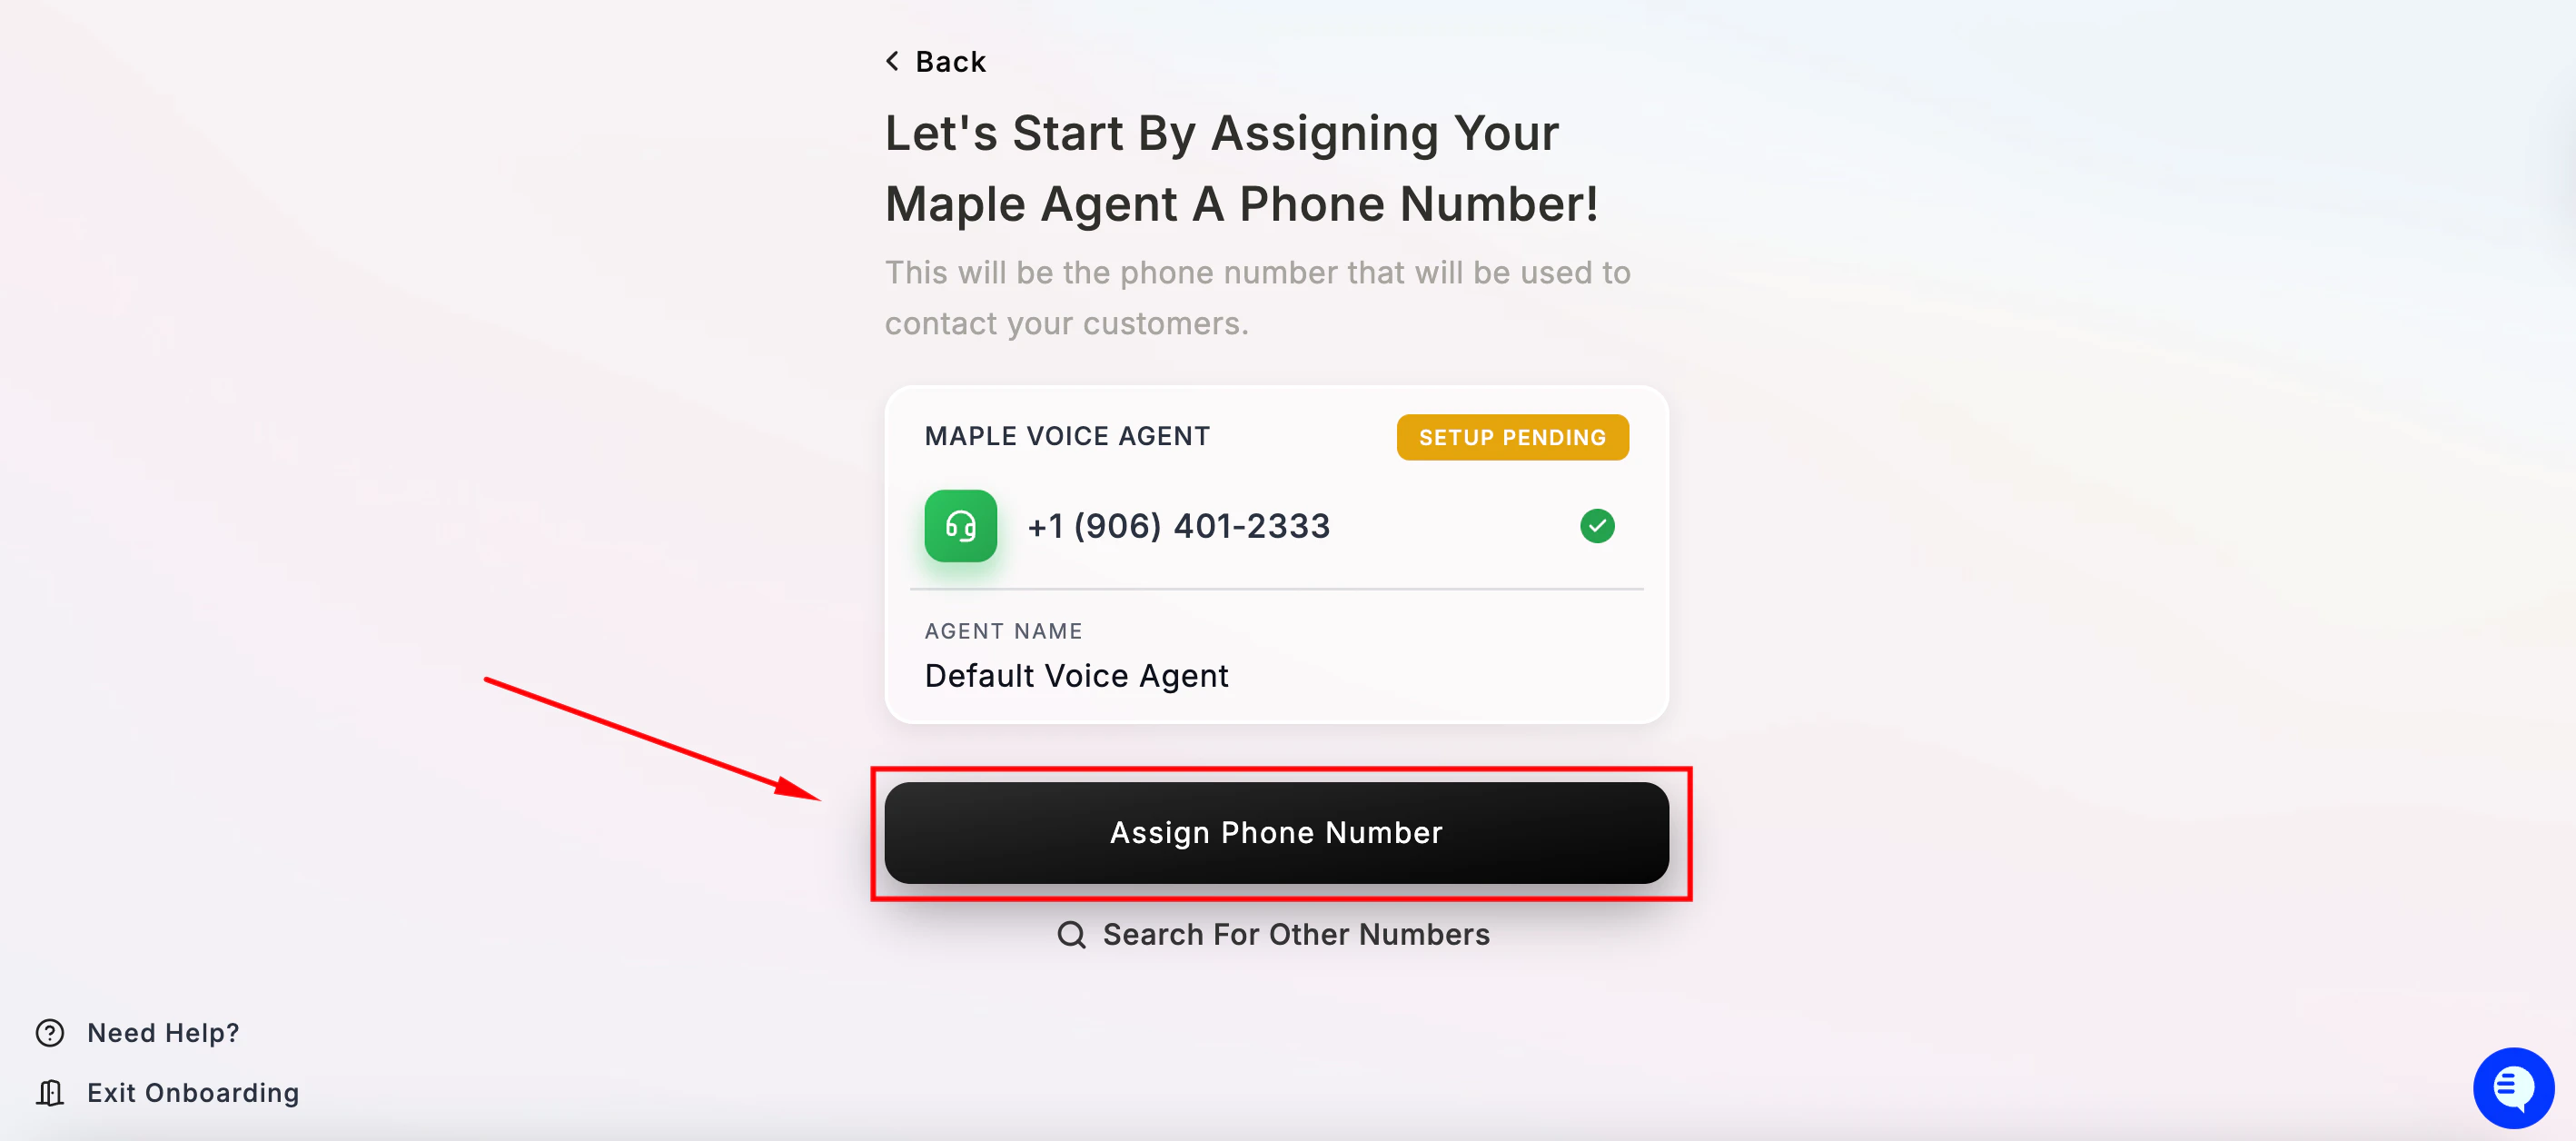
Step 6 — Set your welcome message

This is the first thing your customers hear when they call. Maple generates a default message based on your location name. Welcome Message You can customize this here, and anytime from your dashboard, to match your restaurant’s tone. Keep it short, warm, and direct — up to 120 characters. Click Continue when ready.

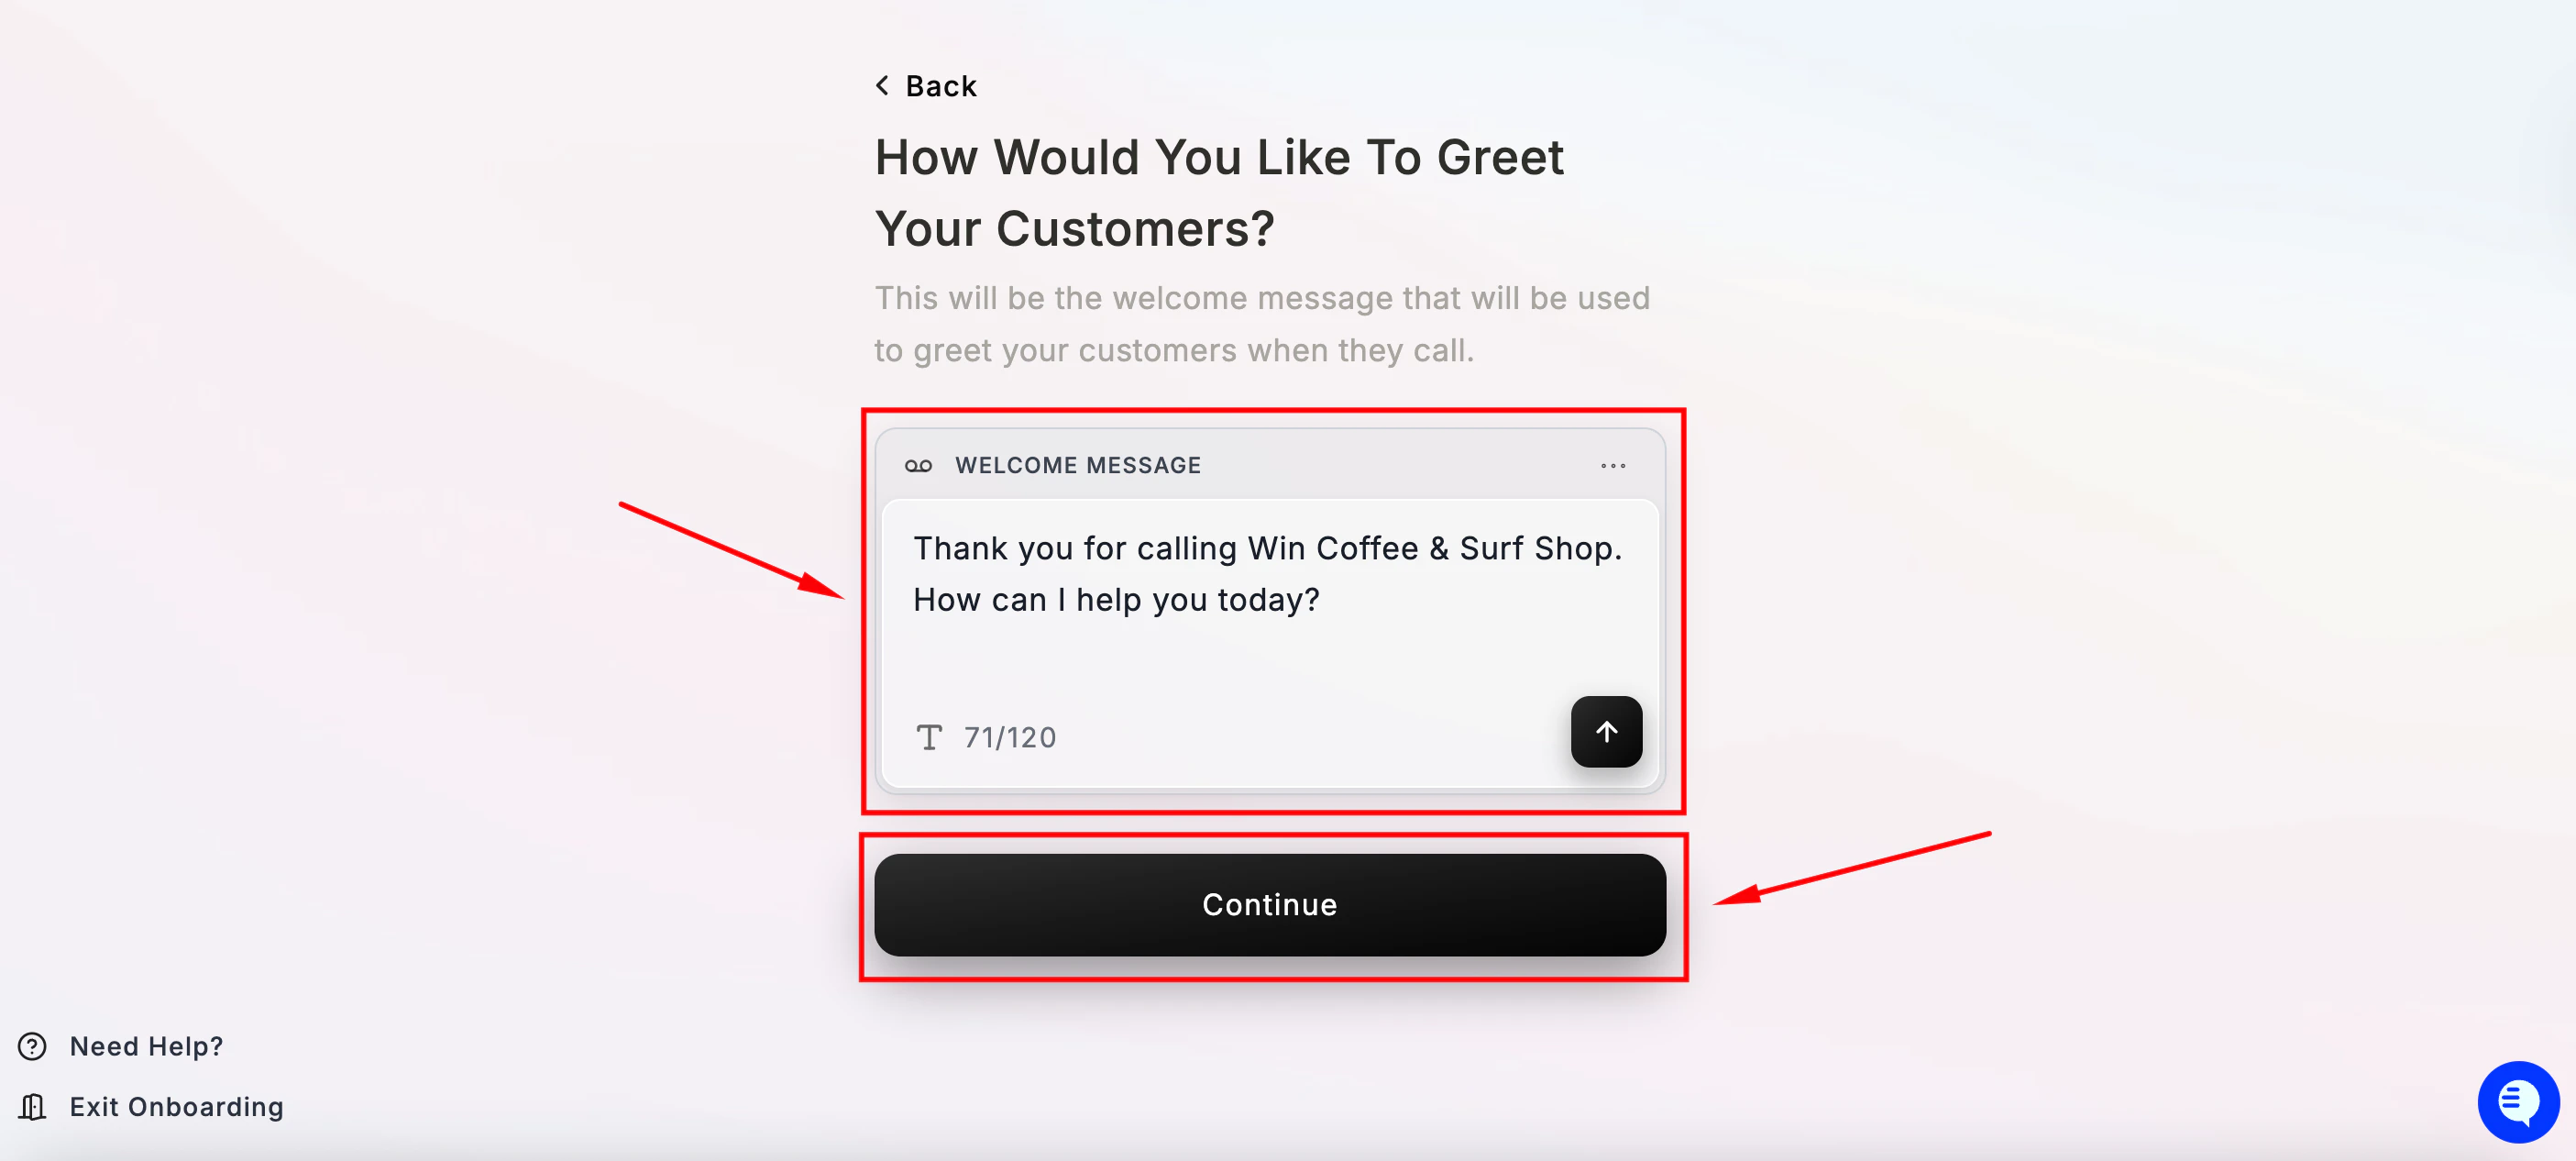
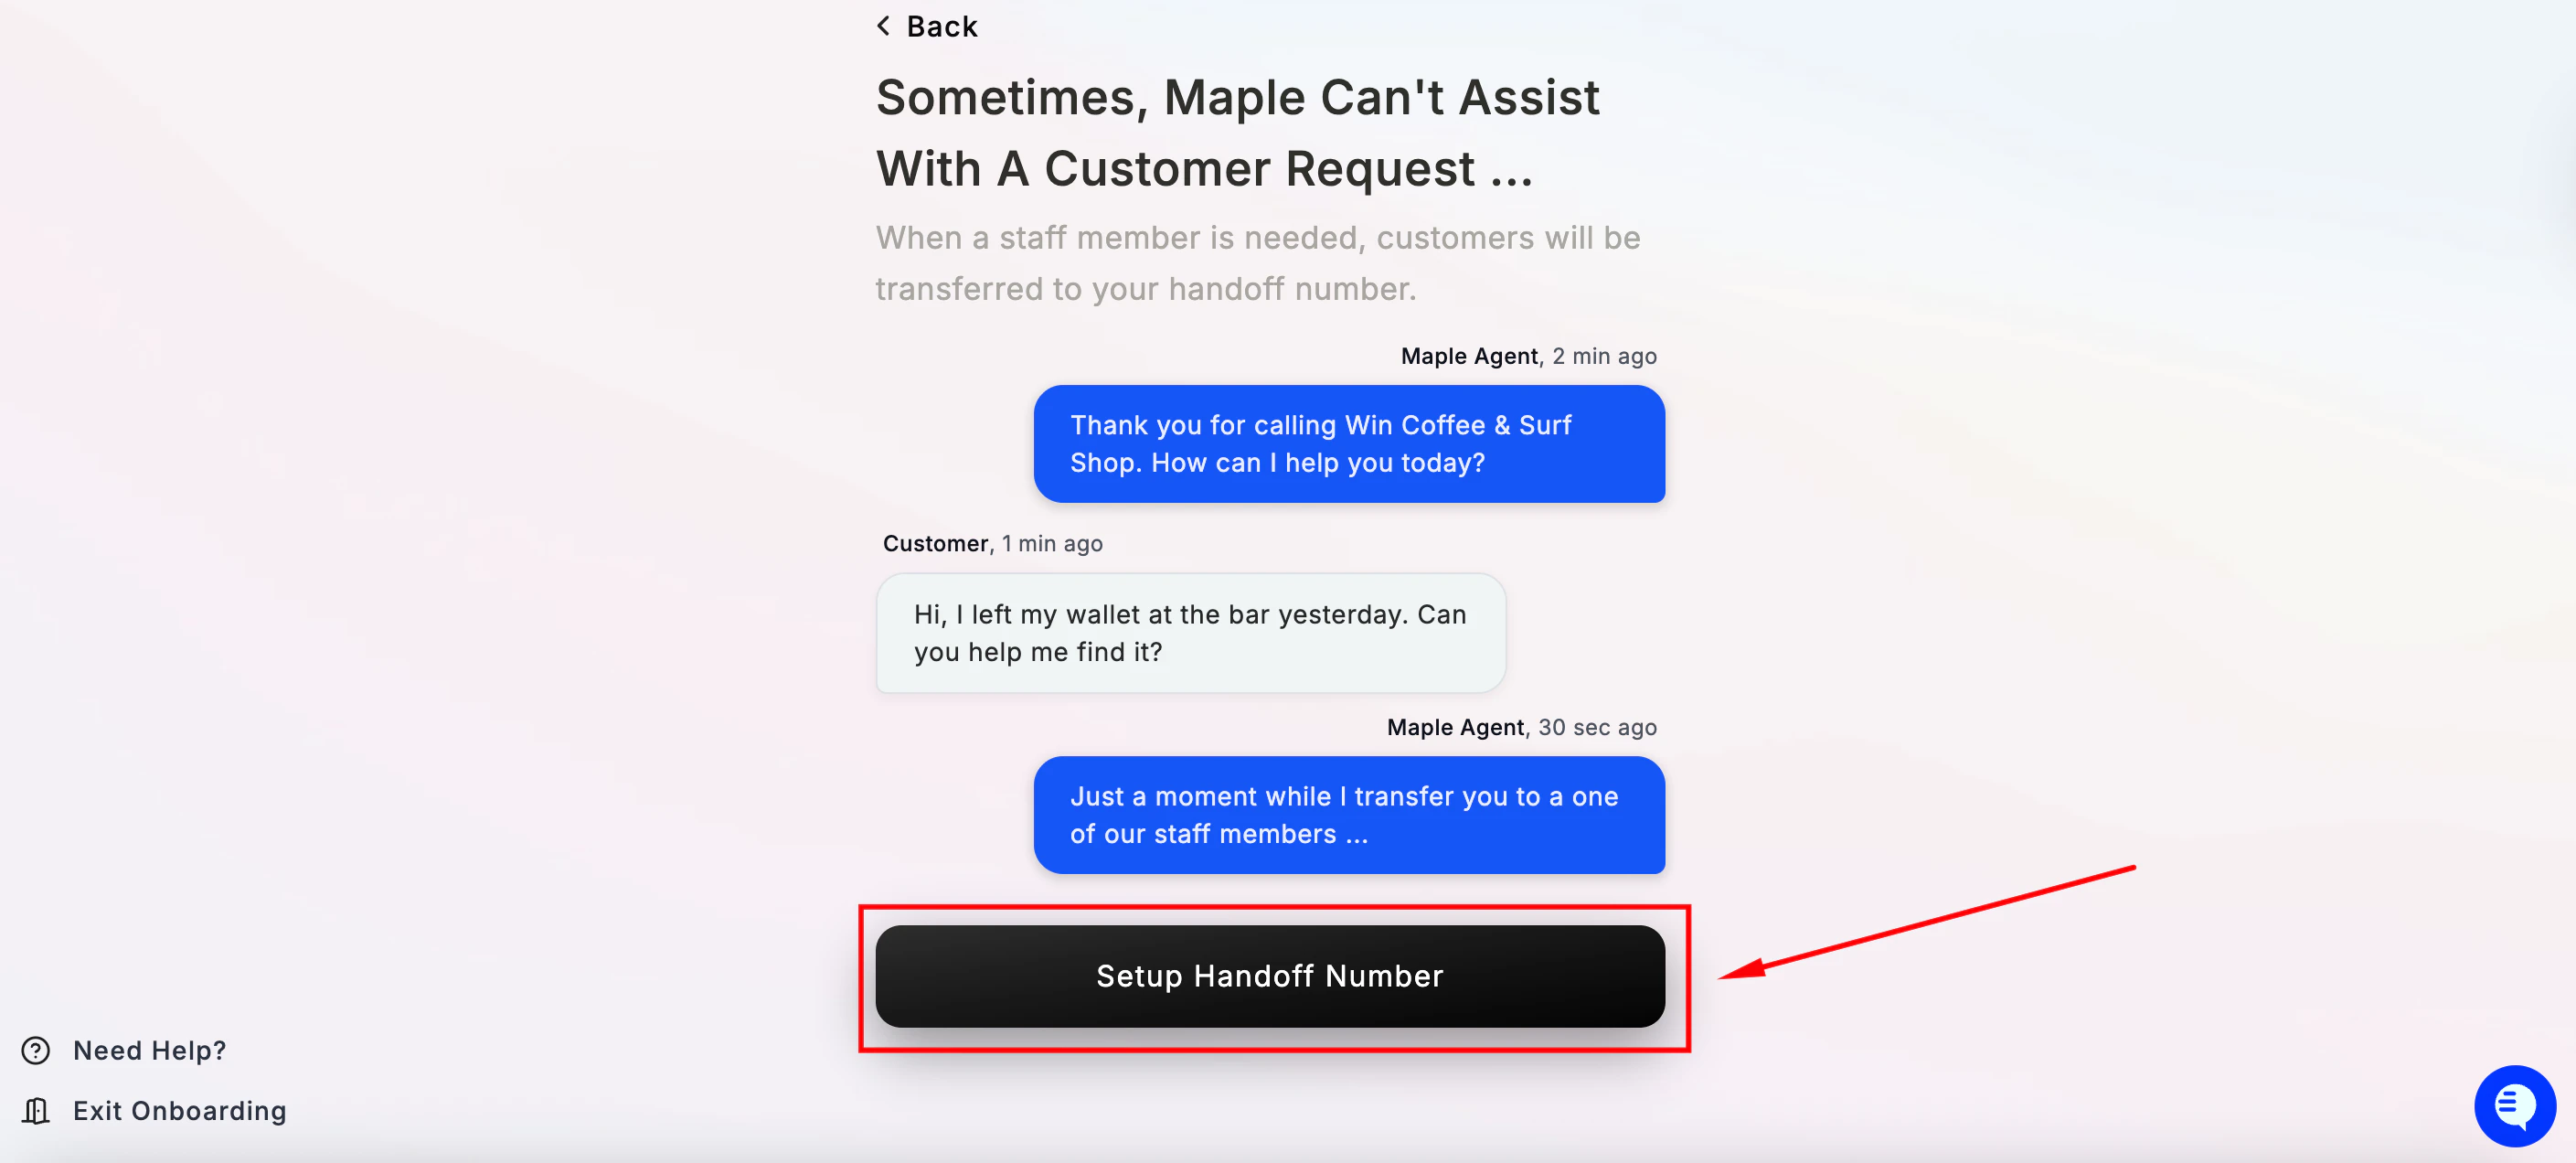
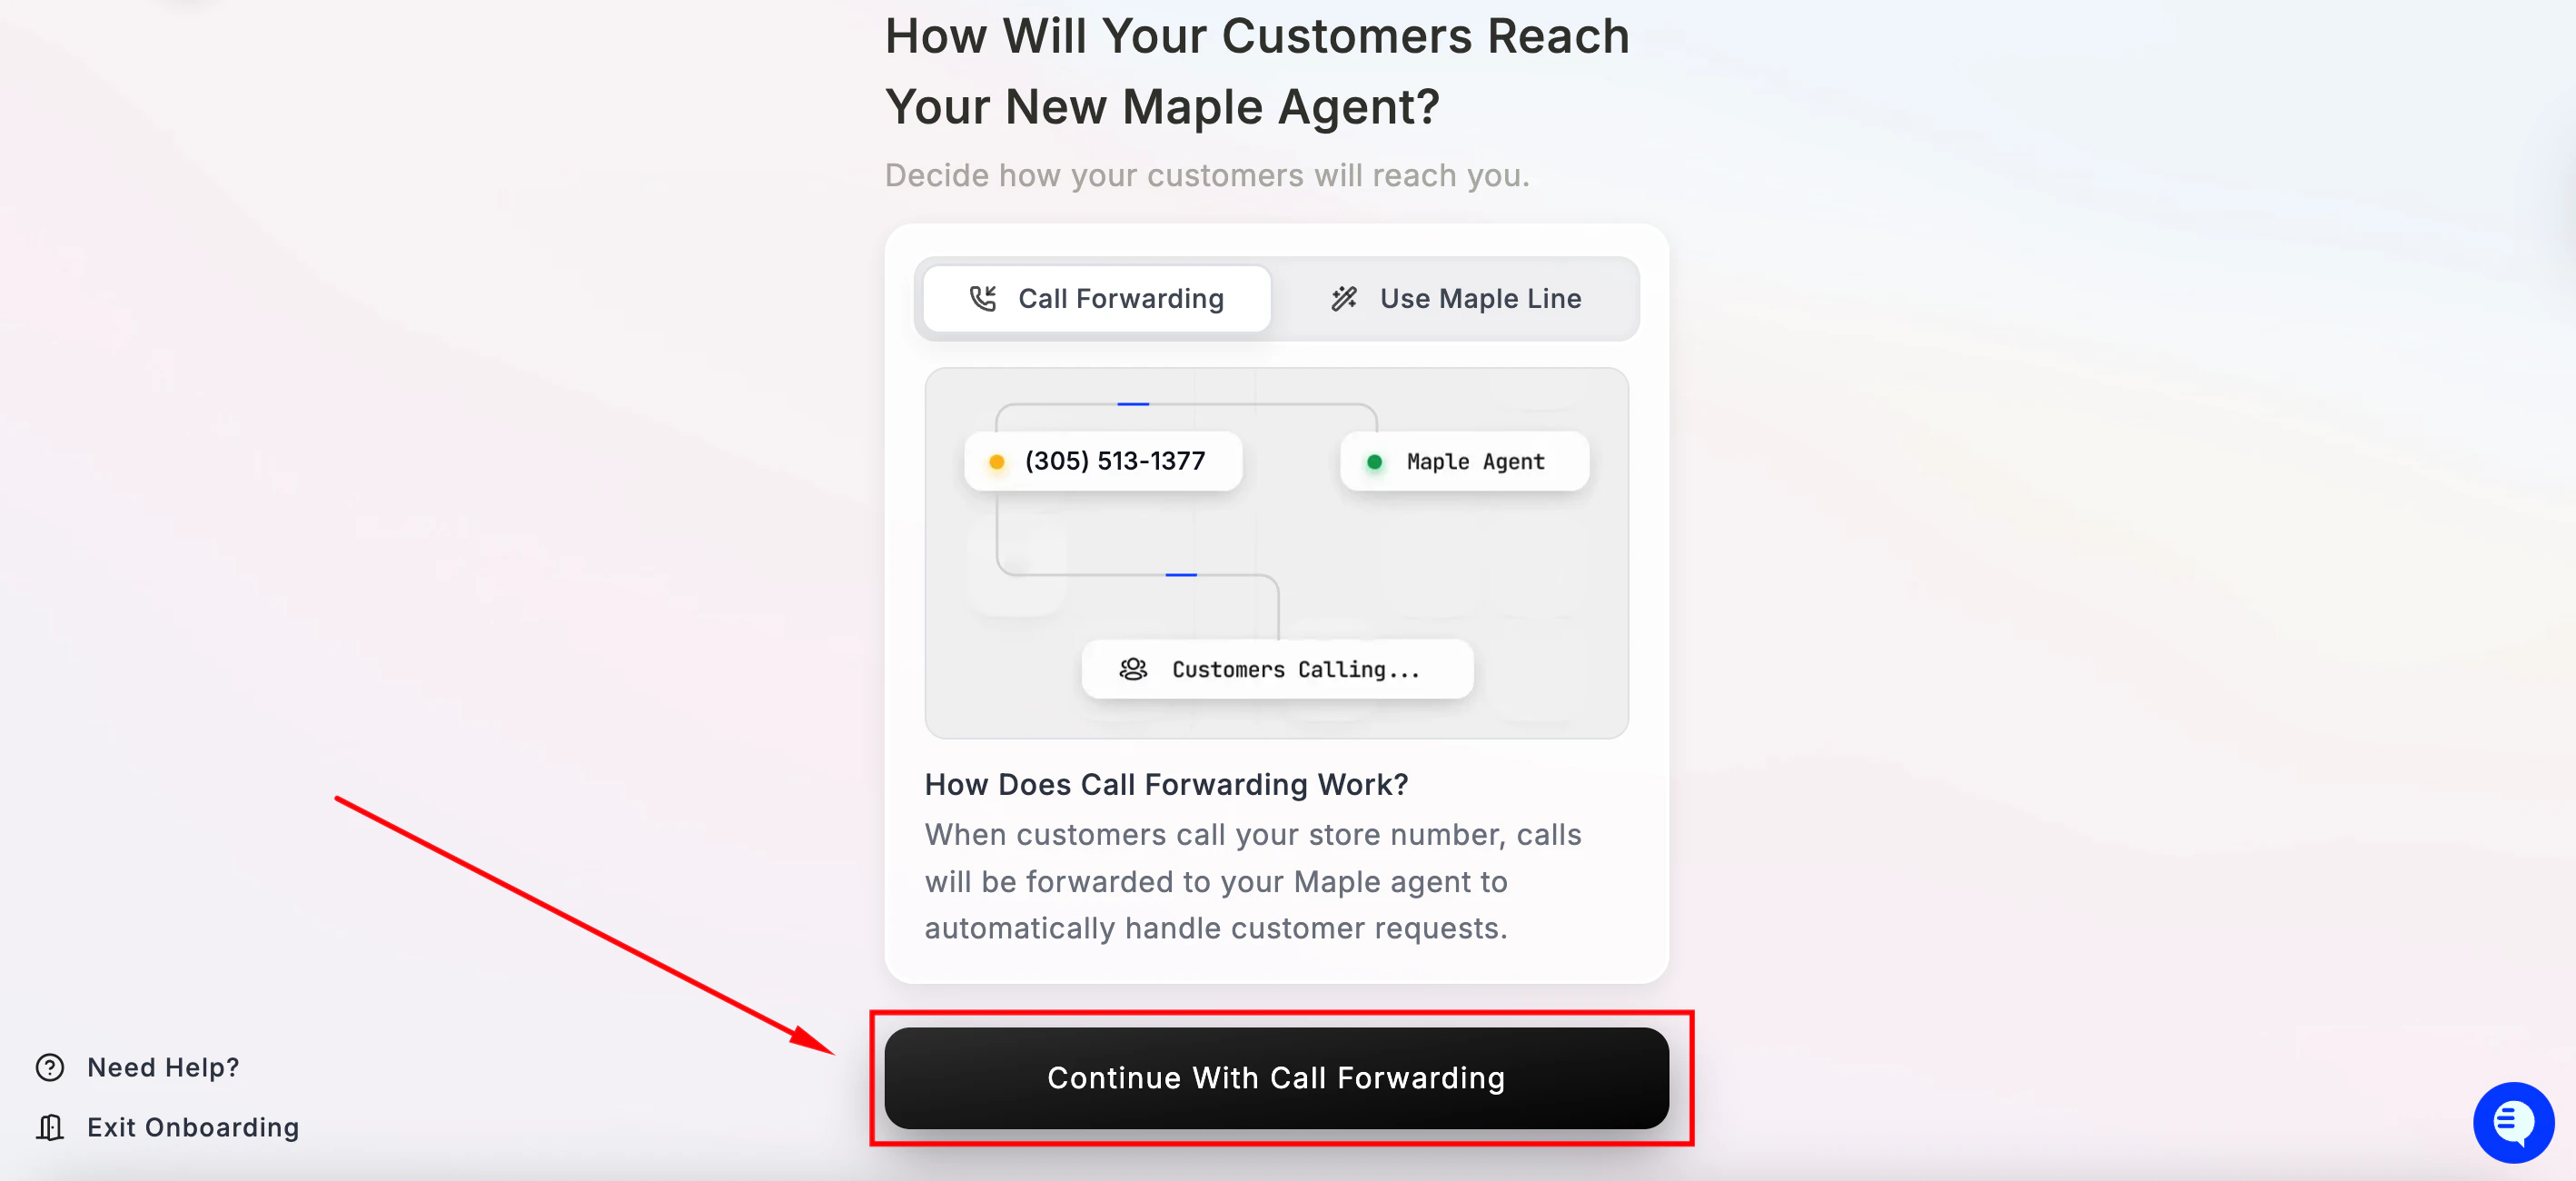
Step 7 — Set up your handoff number

Handoff Number When Maple can’t help a customer — or they ask to speak with someone — the call gets transferred to your handoff number. Enter a phone number that your staff can answer. This must be different from your main restaurant line. Handoff Number Set Up Click Save & Continue. If you’d like to skip this for now, click Skip Handoff Number — but we strongly recommend setting this up before going live. Important: Using the same number as your main line will cause an AI loop. The agent will pick up again instead of a staff member.

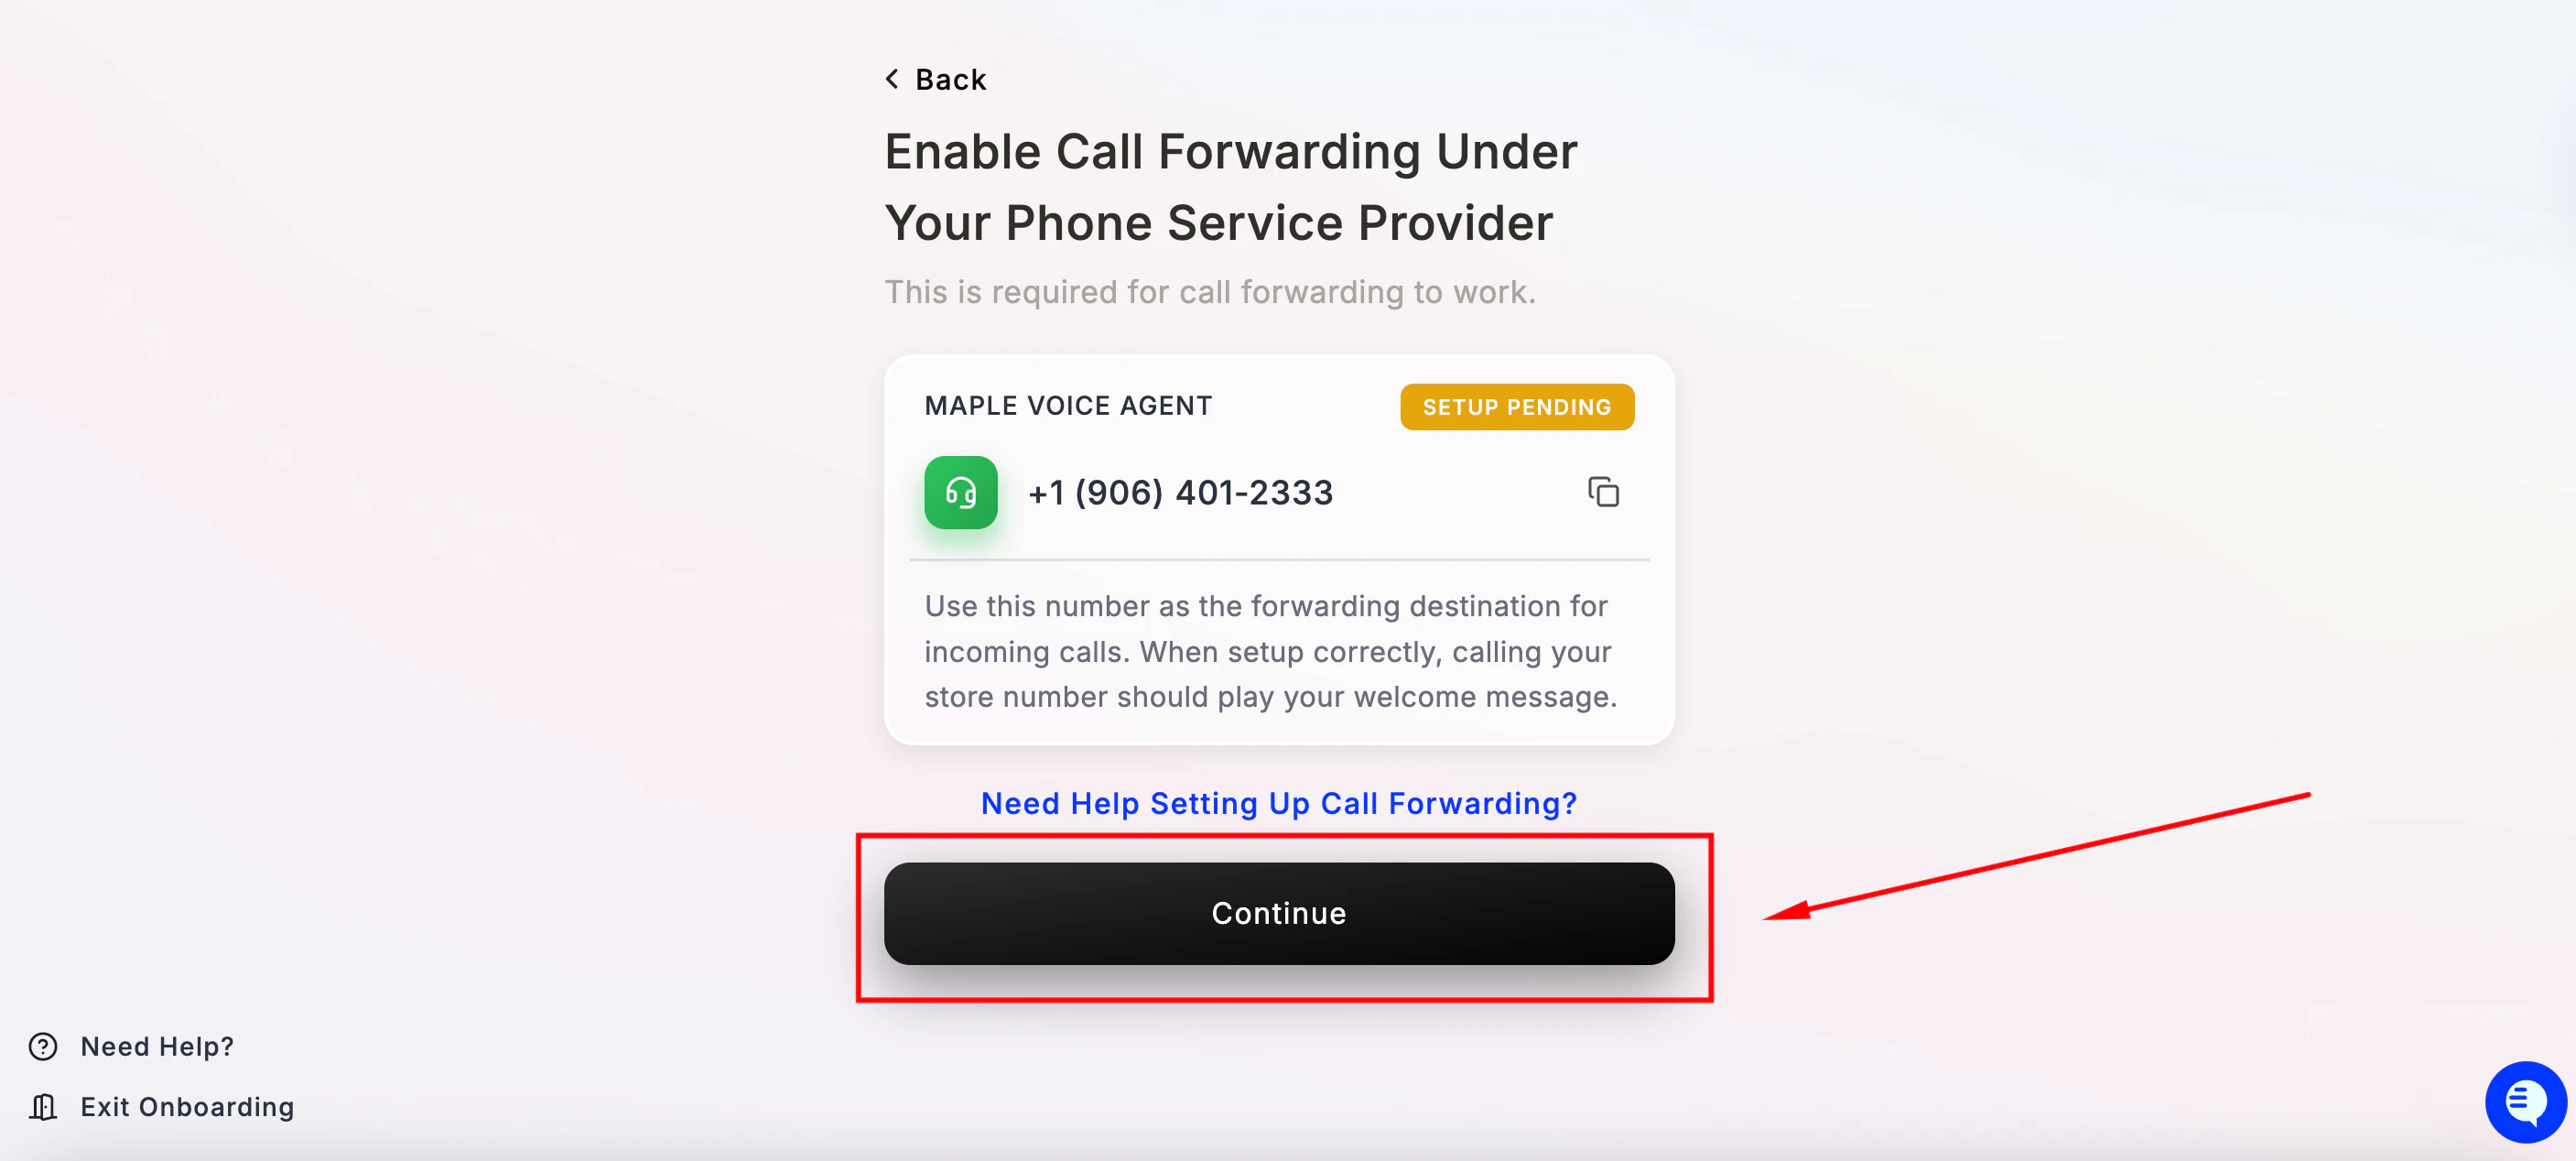
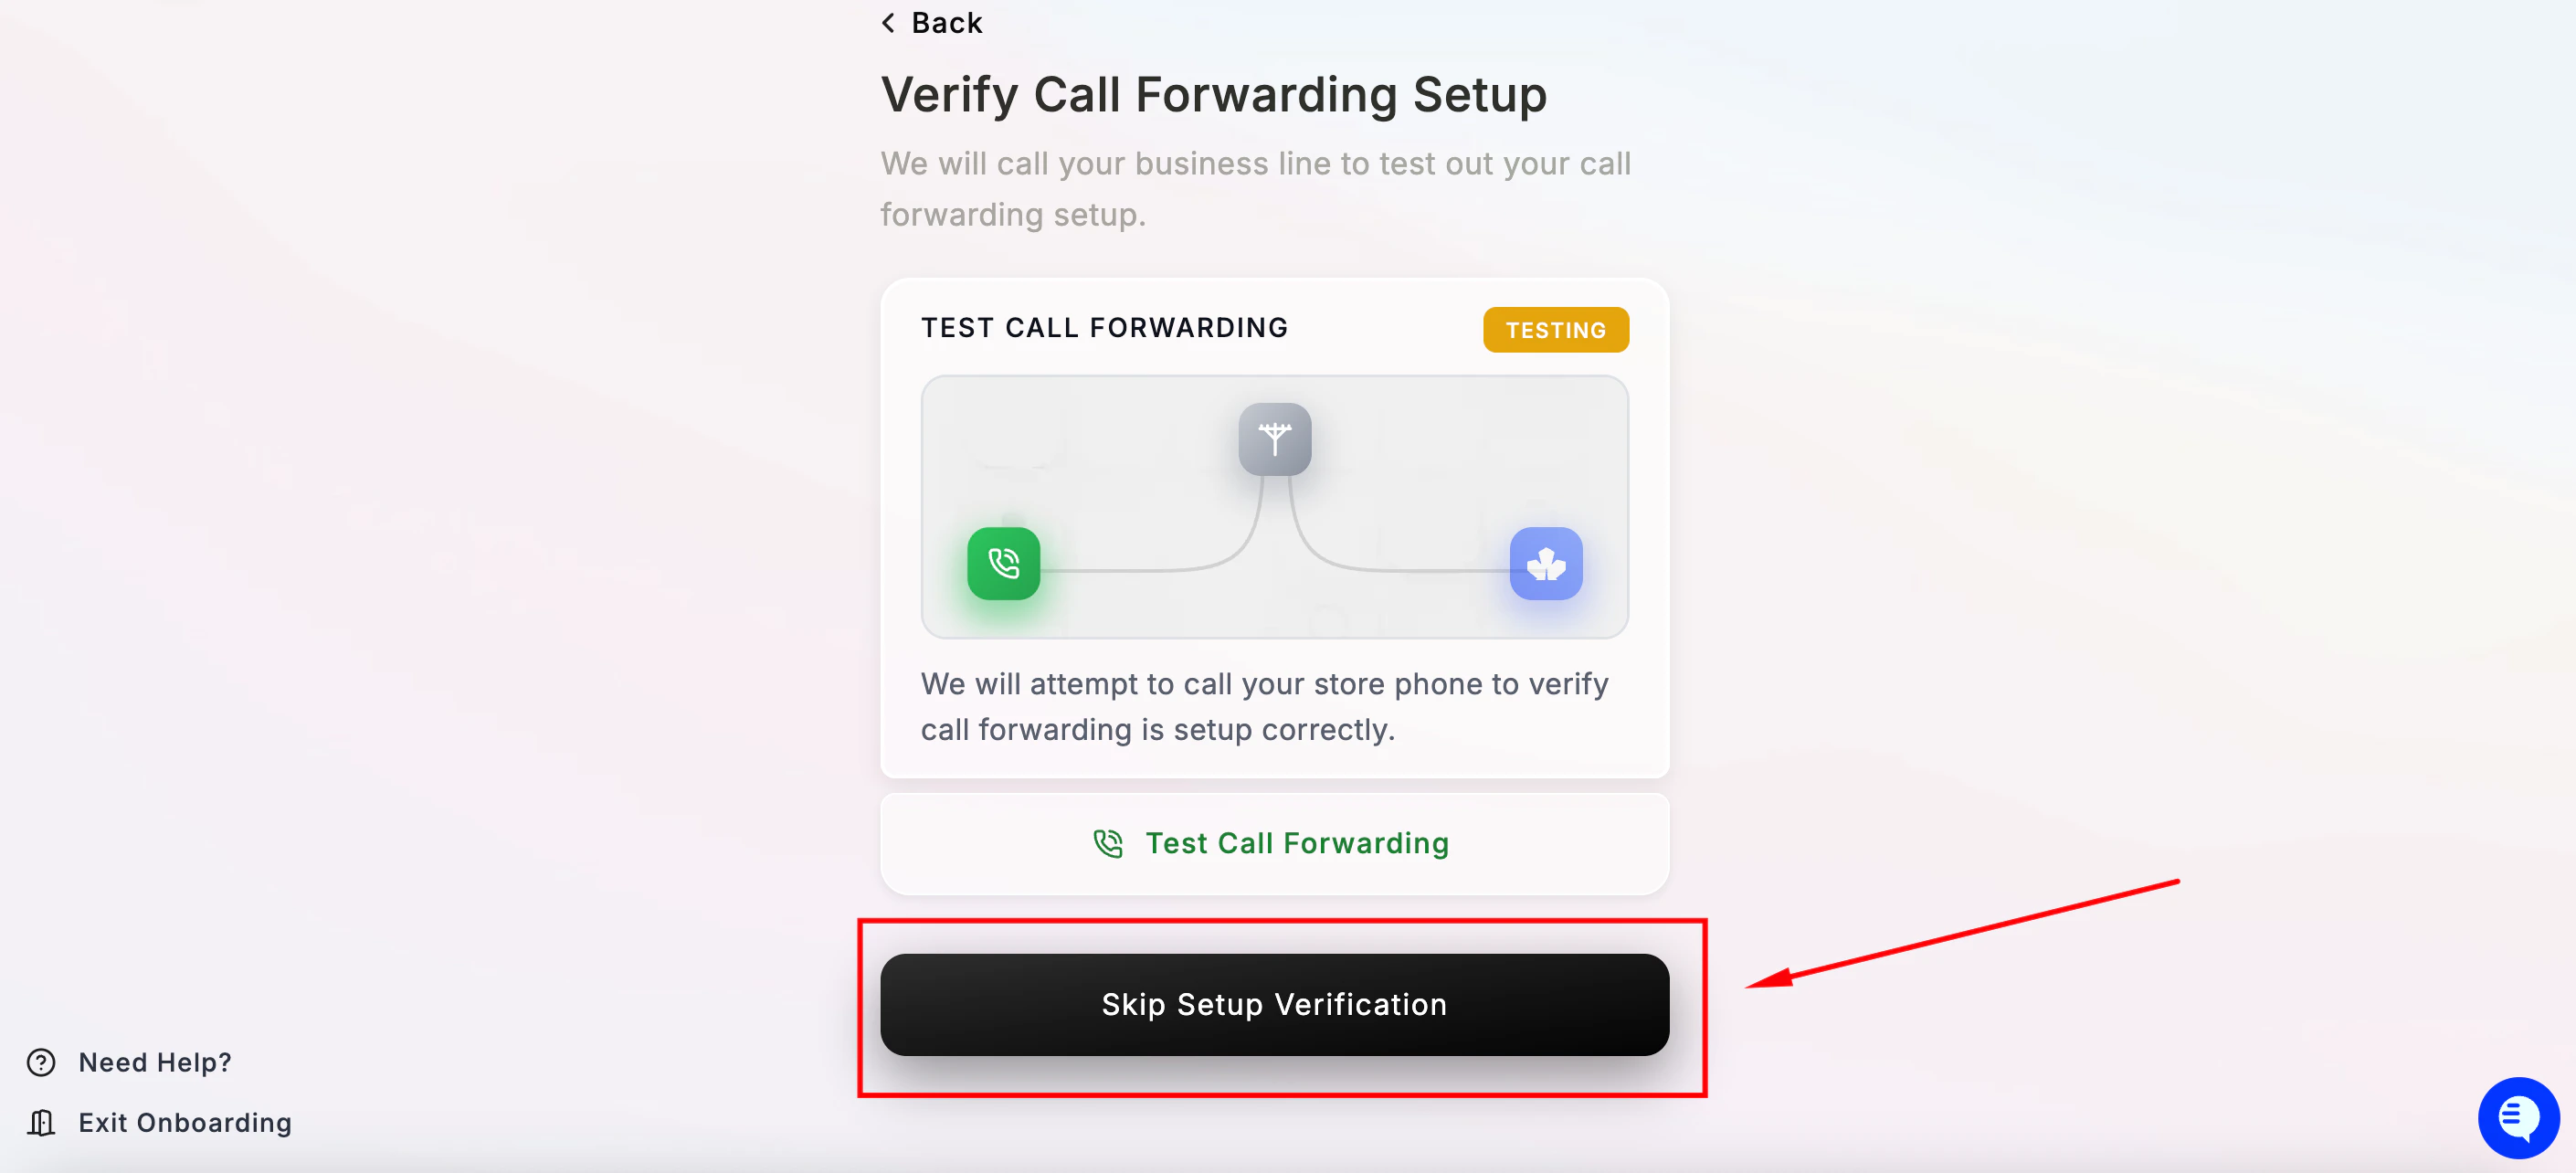
Step 8 — Continue with Call forwarding

Continue With Call Forwarding After setting this up, when customers call your existing restaurant number, calls are automatically forwarded to Maple. This will be the last step to get your agent live with Maple.  Select Continue With Call Forwarding to proceed with the recommended setup. Enable Call Forwarding Then Skip Setup Verification for now. Skip Set Up Verification

Step 9 — SMS setup (optional)

Maple can send SMS text messages to your customers — payment links, booking confirmations, online ordering links, and more. Skip SMS Choose: No, Skip SMS Setup — skip for now and set it up later from your dashboard. Then click Complete Onboarding. SMS setup requires business verification (A2P compliance). You can always come back to this later.

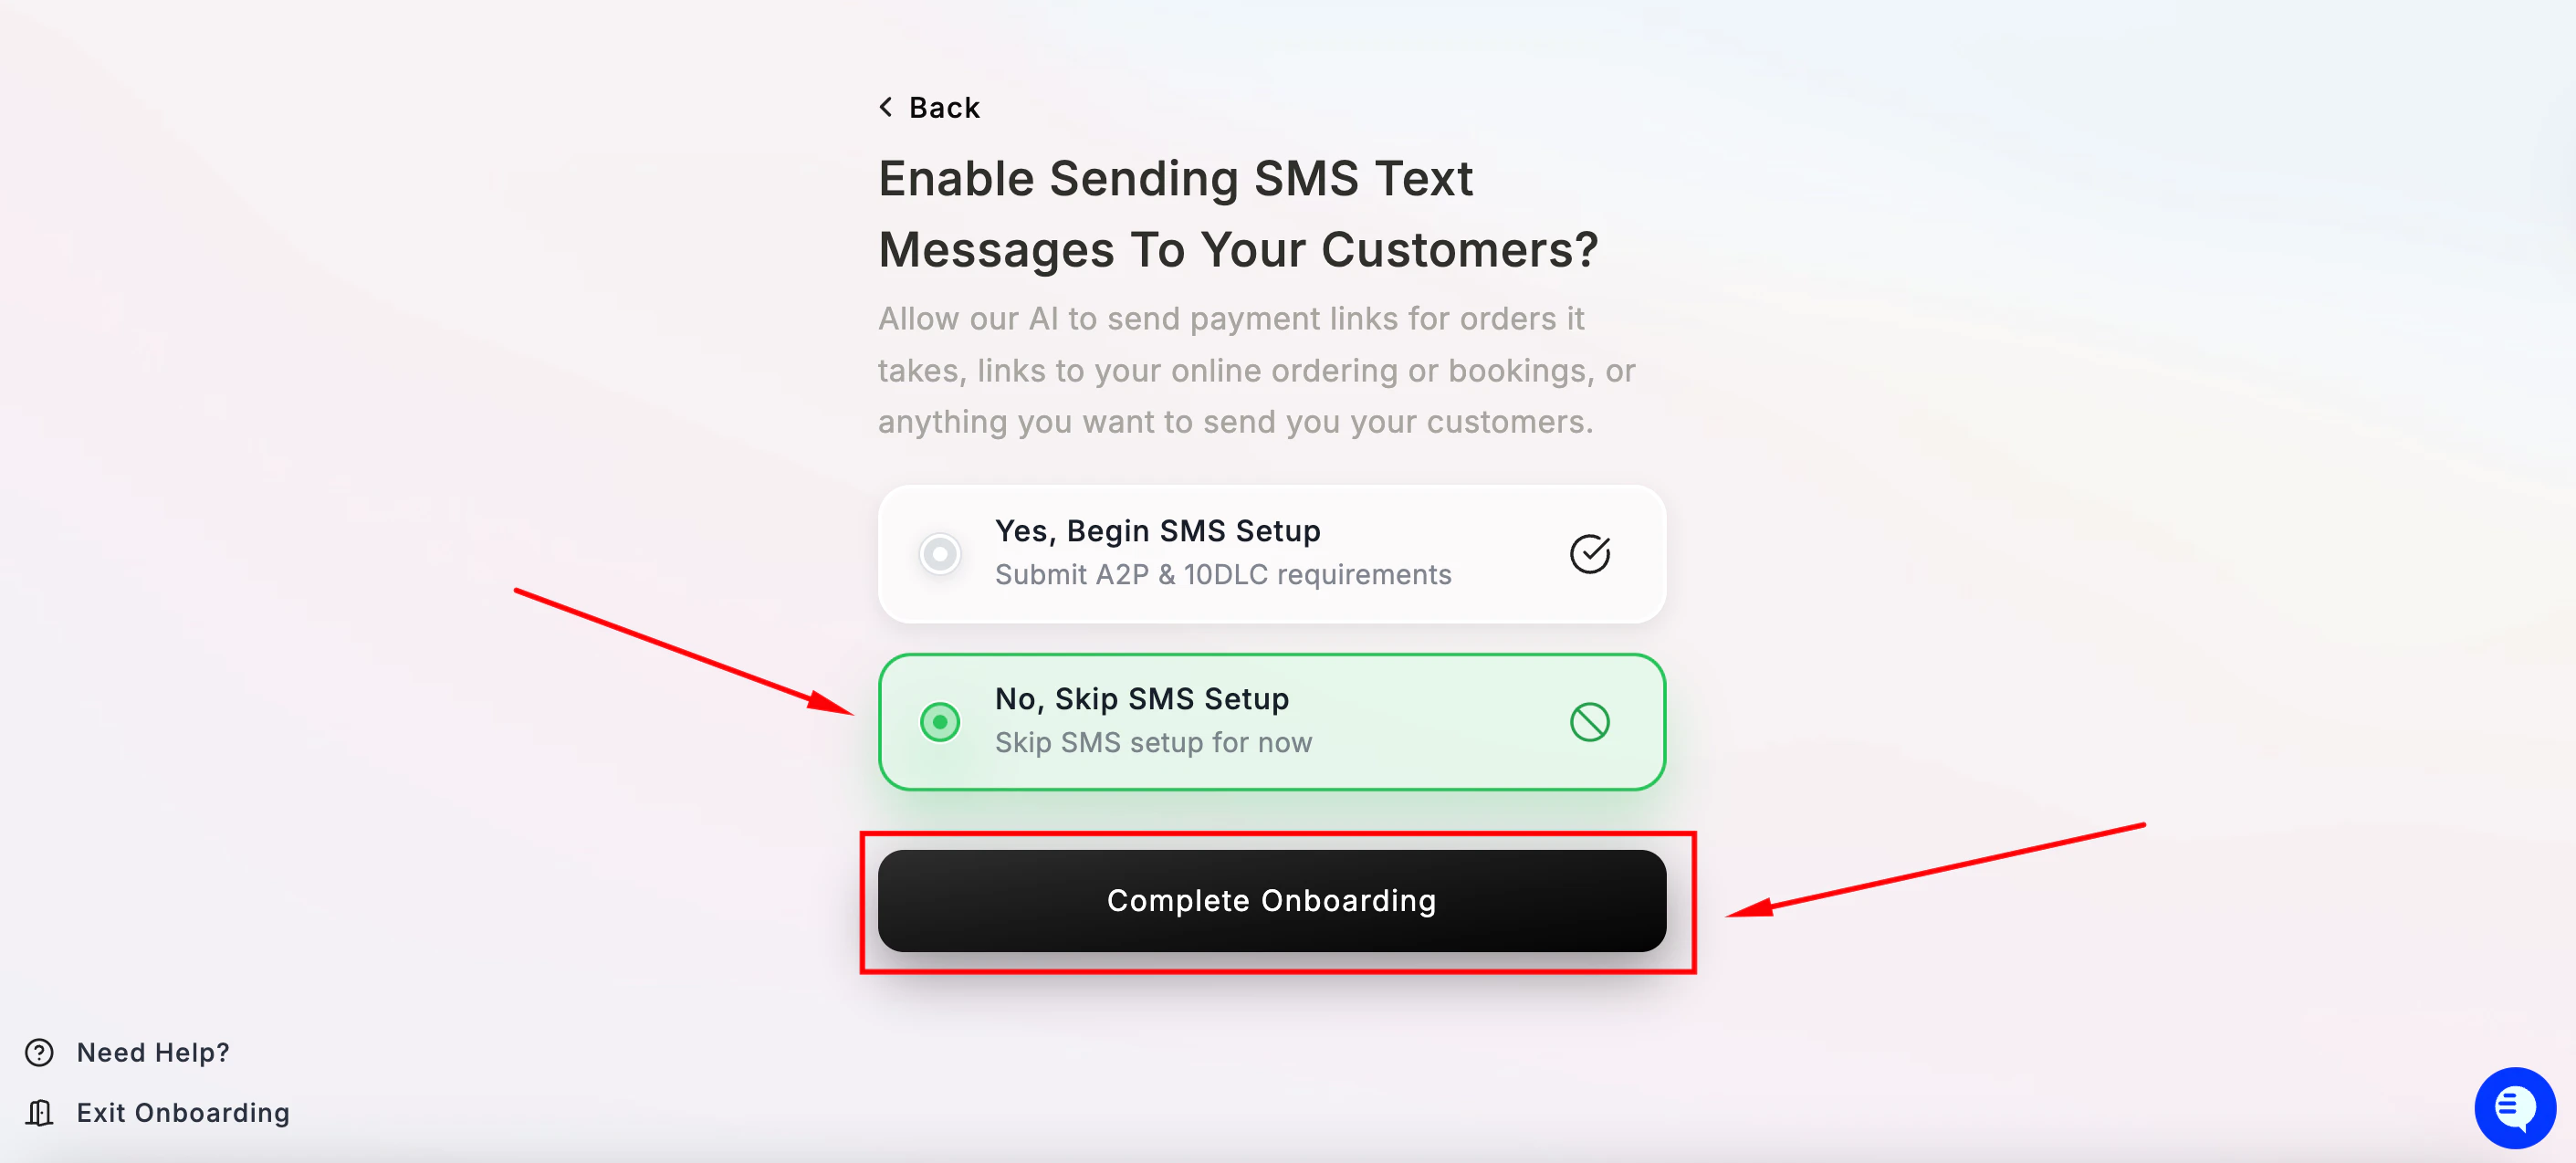
Step 10 — You’re all set! 🎉
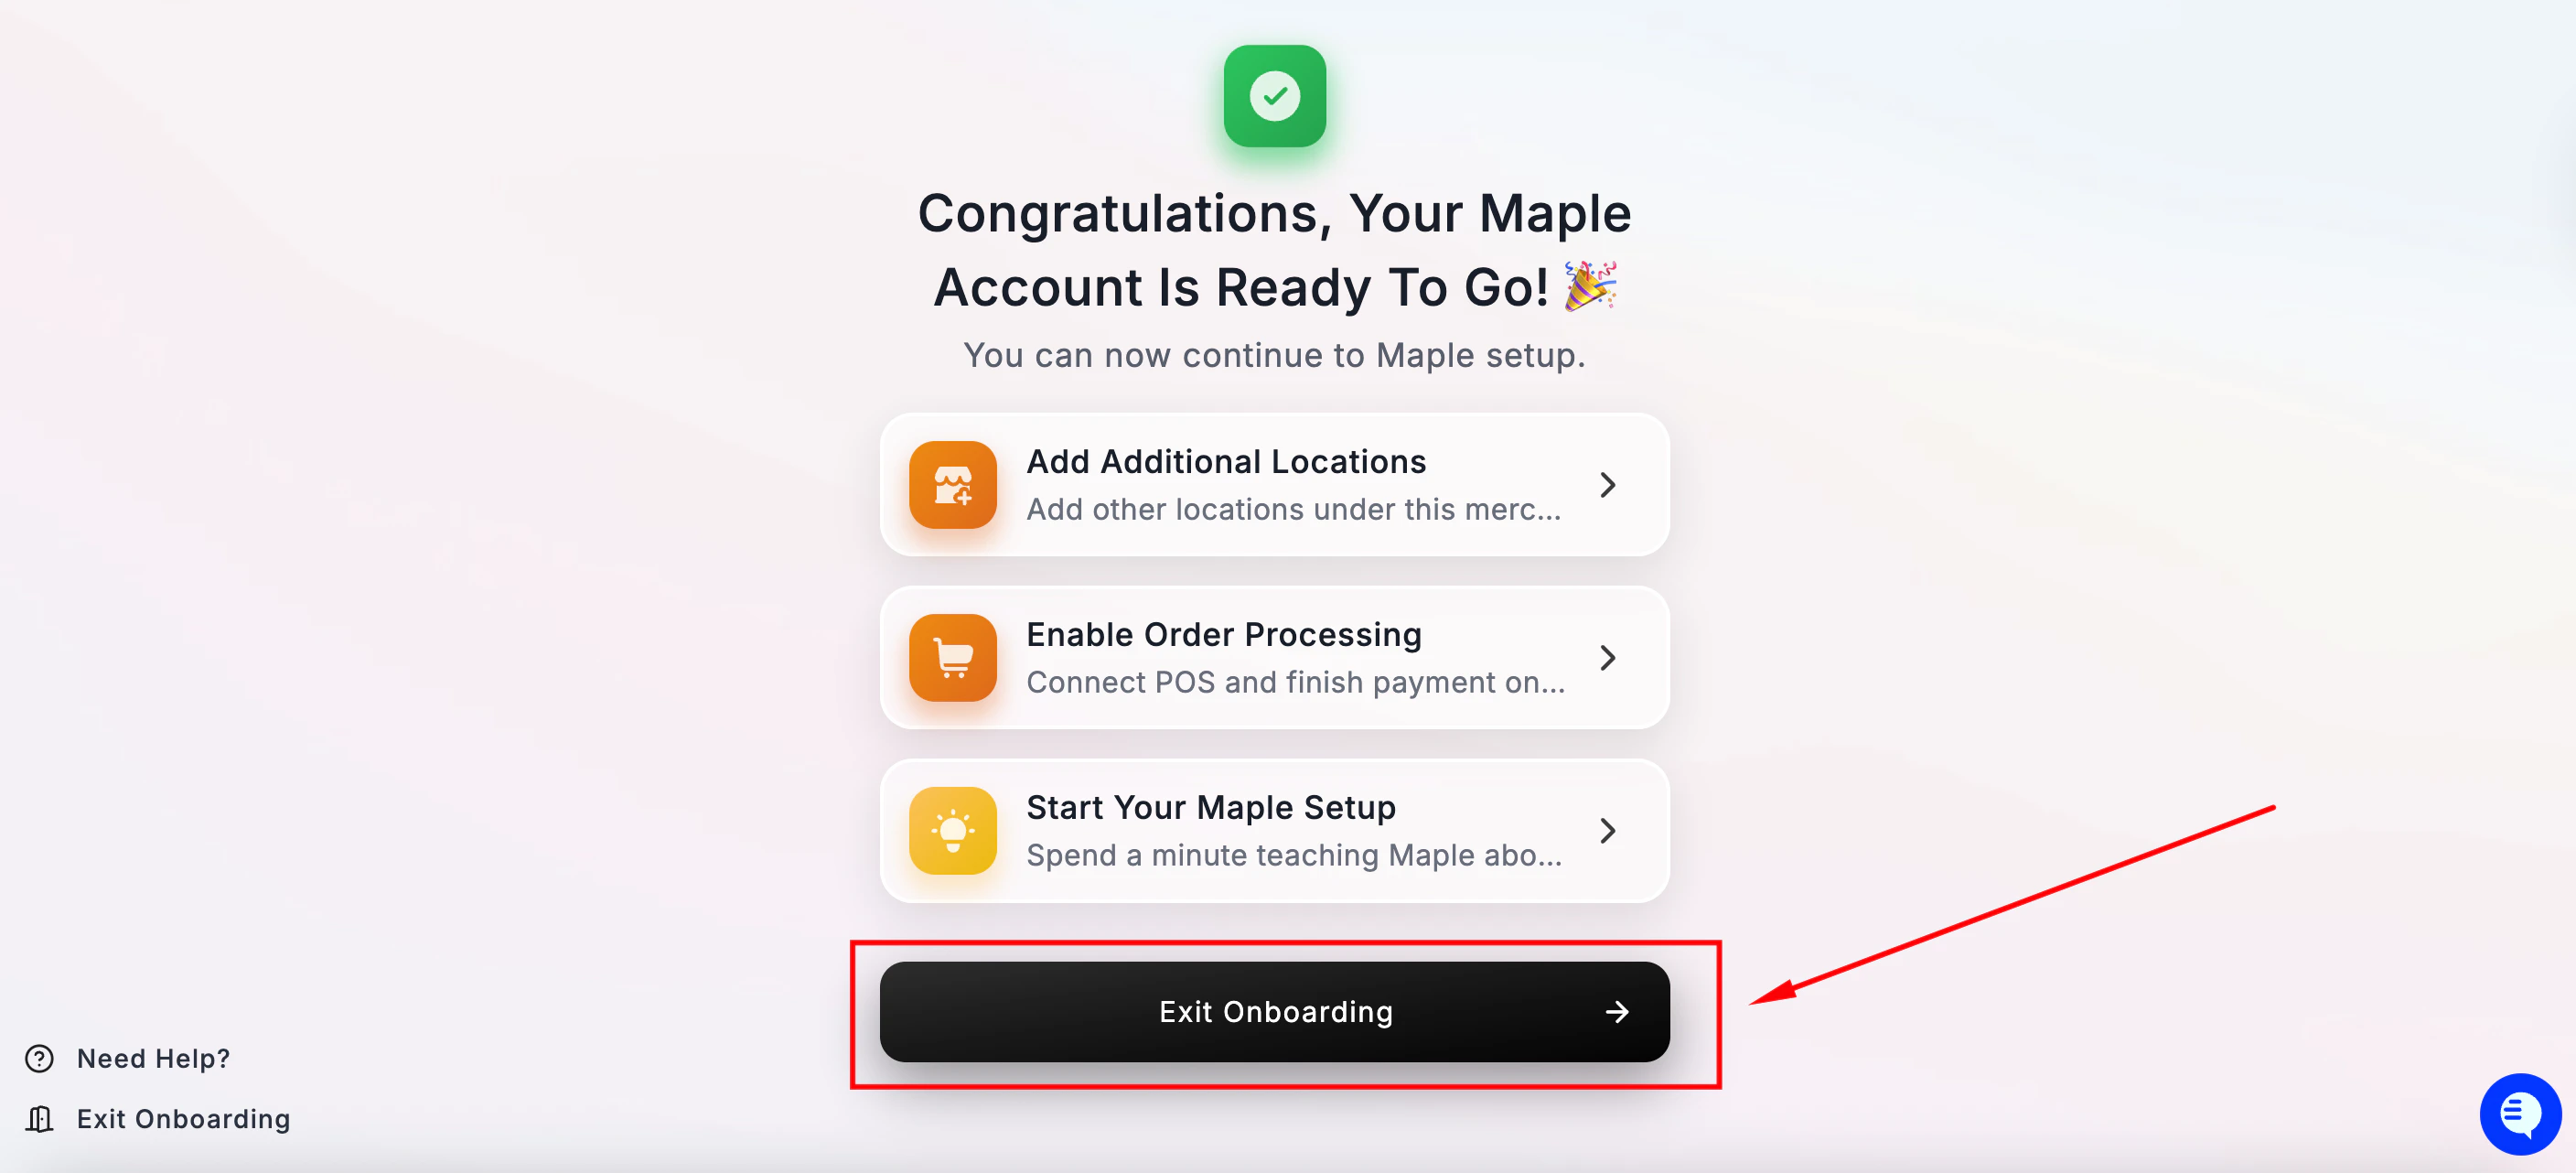
Exit Onboarding Click Exit Onboarding to go to your dashboard and continue setting up.

What to do next

Before going live, we recommend completing these steps in your dashboard:

Need Help?